Miniature painting is not something I was ever interested in, as I do not dabble in any Warhammer games or games of that ilk. The only reason I stumbled upon the chance to paint some minis was when I bought My Little Scythe for my (then) 7-year-old daughter. When she opened it on her birthday, we realized that the figures inside were grey and the designer even included a Painting Guide for inspiration. We decided that she would pick the color schemes for the miniatures and I would handle the painting of them. By no means were these masterpieces, but the process was fun and rewarding.
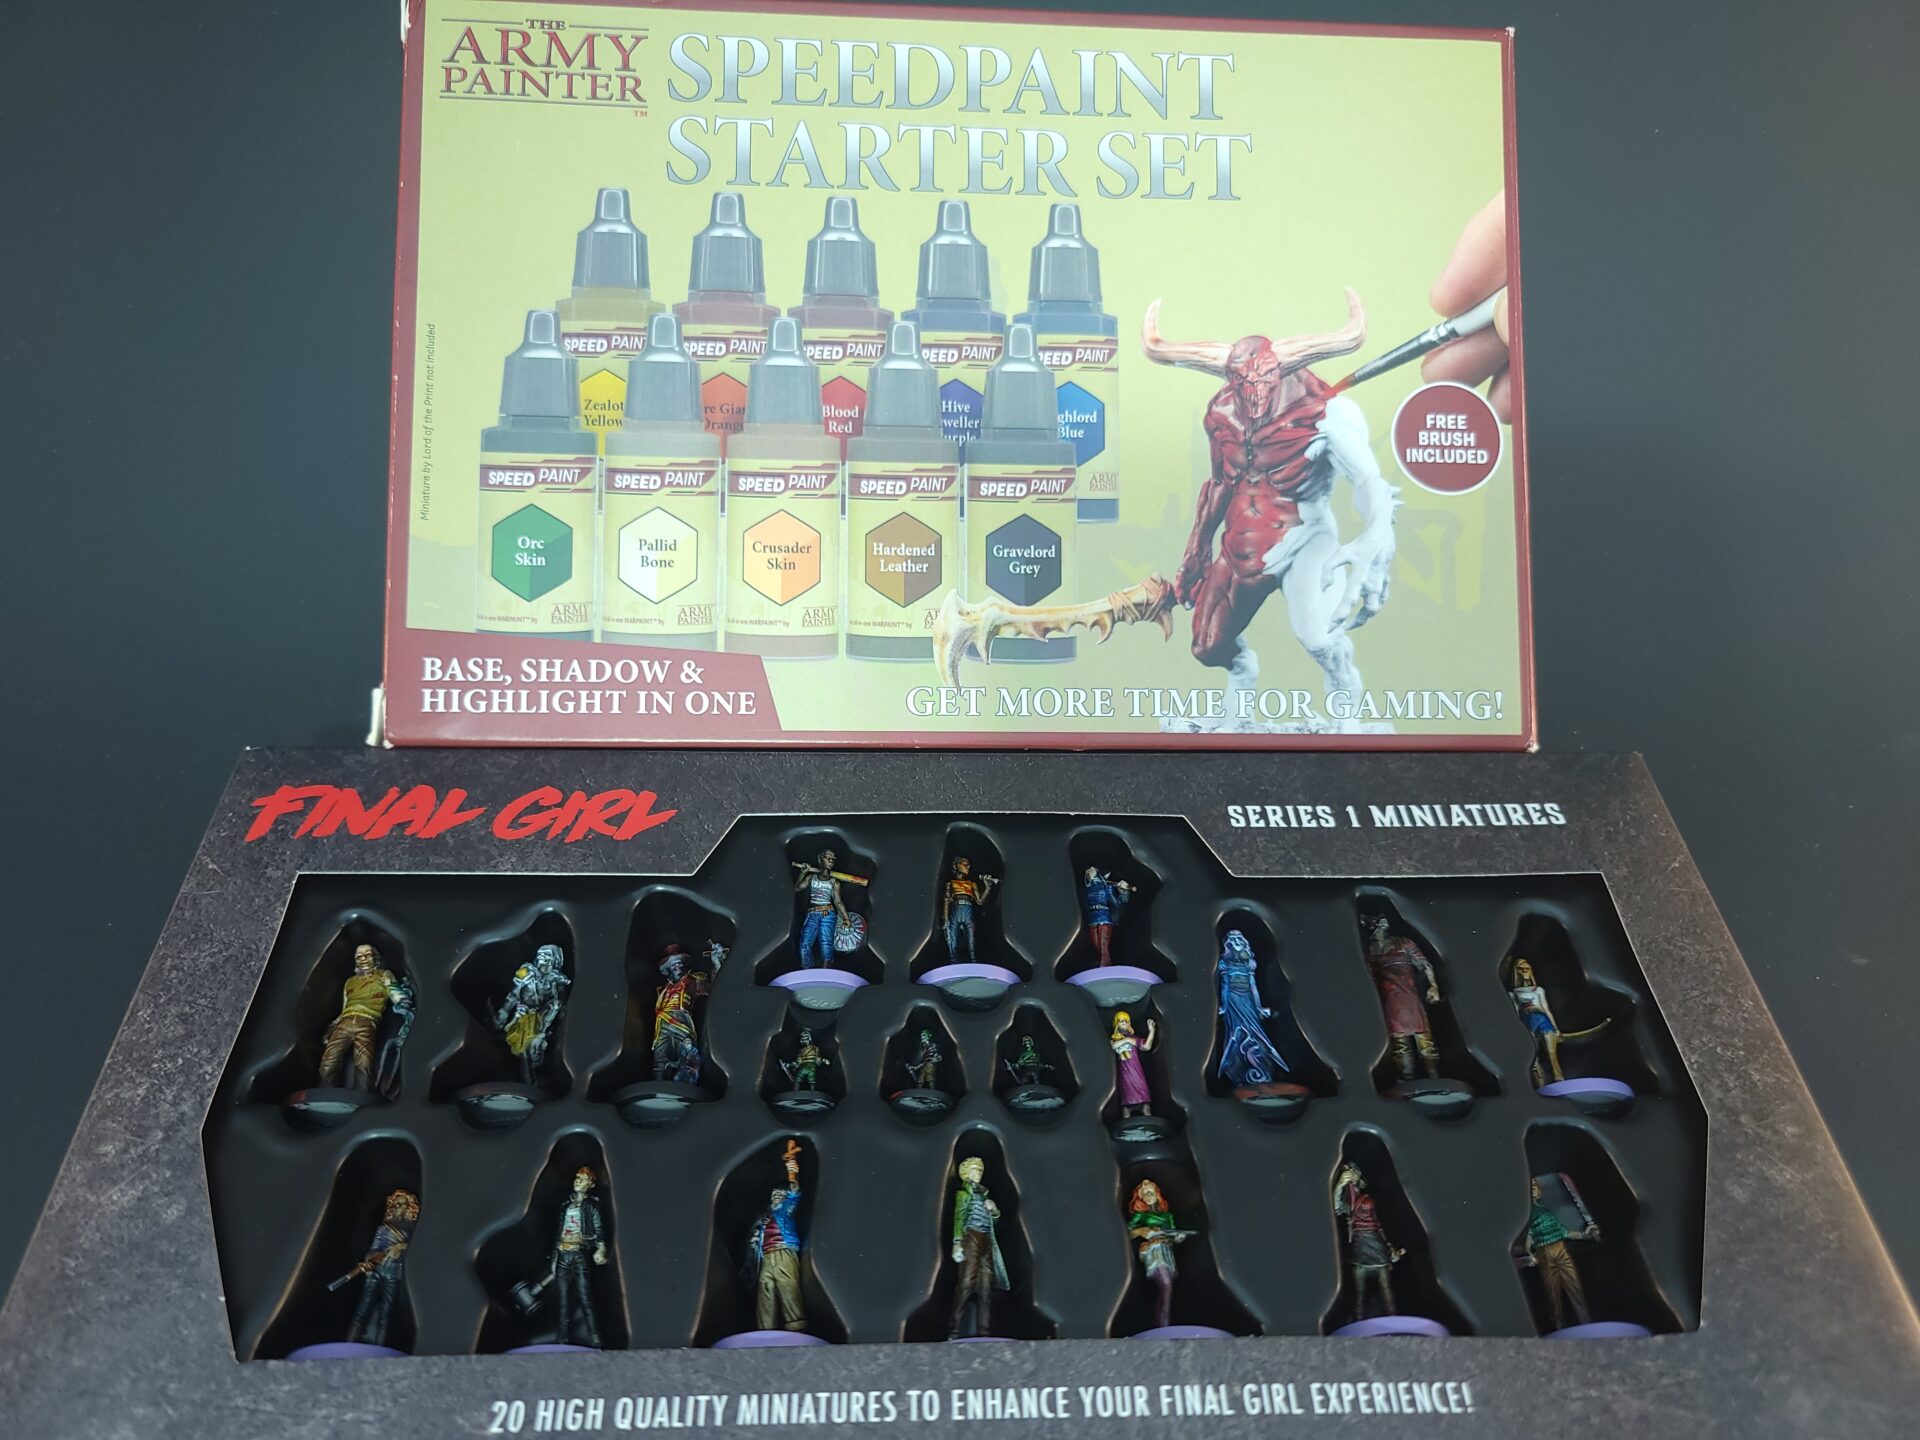
Skip forward a few months, and I get a birthday present from my wife, the Series 1 Final Girl Miniature Set. This set includes 20 miniatures of the girls themselves and the killers found in the first set of Final Girl Feature Films. It took me a while to work up the courage (as these things are tiny) and the time to start painting but in late December 2023, I took on the task and knocked them all out within a few weeks. Below is some pictures as well as some thoughts on the process, colors, and effects I decided to use. Enjoy!
Please note that I strictly use The Army Painter brand paints, supplies, etc. I don’t do this because I am sponsored or affiliated with them, but solely because I truly like their products and both hobby shops located near me carry plenty of their supplies. Unless otherwise noted, all supplies are manufactured by The Army Painter.
Zenithal Priming and Slap-Chopping
The first step to painting any miniature is to make sure you prime them. The reason for this is so that the paint adheres properly to the primer as it doesn’t stick all that well to un-primed figures. First, let’s discuss how I primed all the Killers of Final Girl.
In my sessions painting the My Little Scythe figures, they were all coming out a lot darker than I hoped for, but I realized that this method was going to be perfect for the dark and grimy look I wanted for the psychotic minions of the Final Girl series. I primed them all with Matt Black primer and once ready, dry-brushed on a coat of Field Grey. Dry-brushing is a technique where I took a cheap makeup brush, filled it with the Field Grey paint, and then brushed it onto a paper towel until the brush was almost fully unloaded. I then gently brushed it all over the mini, picking up all of the raised edges but leaving the recesses black. This instantly adds a nice depth and shading to the figure with minimal work. Afterwards, I did the same technique with Matt White, though I only applied this to the highest of the edges and areas I wanted to stand out. This whole process is known as the Slap-Chop method and seems to be an easy and fast way for beginner painters to get miniatures on the table, so make sure to look it up if you want more information.
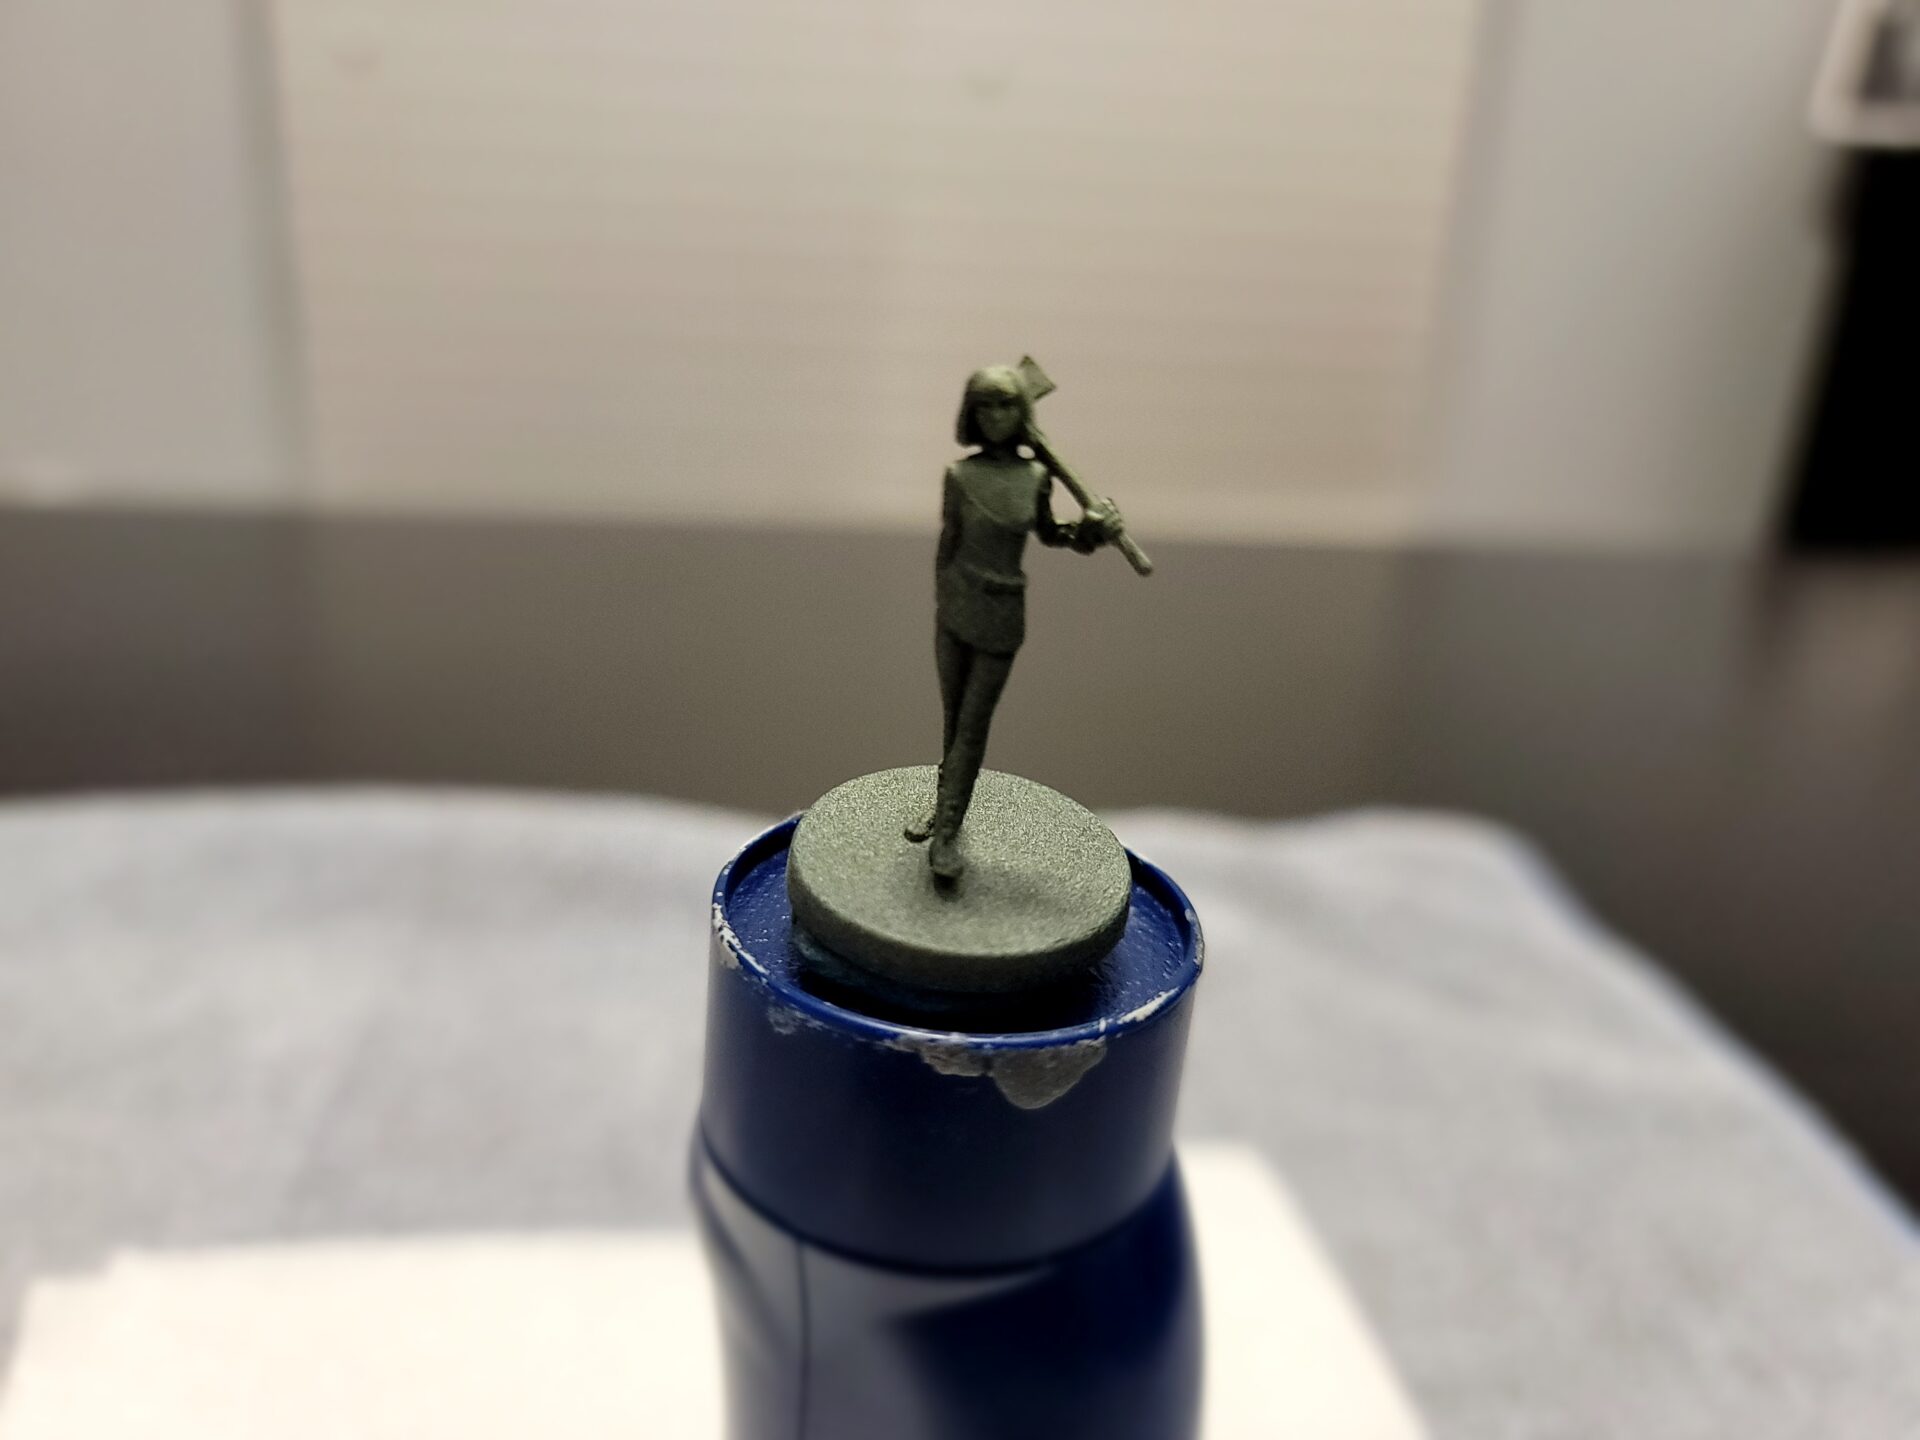
For the leading ladies of Final Girl, I wanted to stick with the Slap-Chop method, but I didn’t want them to turn out near as dark as their opponents, so I modified it slightly. I primed with a layer of Matt Black as normal, but next I used a colored primer, Necrotic Flesh, and applied a Zenithal prime. This is where you use the spray can to simulate a light source, only applying the lighter paint to a certain section of the miniature. Because a miniature is so miniature, normal sized lights don’t correctly highlight and/or shadow the figure so applying the Zenithal style prime, helps to illuminate parts of the figure that might be brightened by a figure-sized light source. Once the primer was all dried, it was time to apply the Slap-Chop but again, I wanted to modify it slightly in order to brighten the characters. This time, wherever the Zenithal prime did not hit, I dry-brushed a lighter grey called Stone Golem, which decreased the overall black of the miniatures down to only the recesses. I then dry-brushed the Matt White over the whole Zenithal area and called it a day.

Laurie, Reiko, and Hans the Butcher
After priming everything, I started my journey to color the figures. For every miniature you’ll see in the post, I used Speedpaints by The Army Painter. Most of the colors came from the 1.0 Starter Set but I also picked up a few random bottles here and there. If I discuss a paint that was not a Speedpaint moving forward, I will make sure to call that out.
I don’t own every Feature Film of Series 1, so I decided to start with all the characters that I don’t own the games for. I figured that this would allow me to get used to painting such small figures as the My Little Scythe figures that I had previously done were gigantic in comparison. Doing so in this order would also make it where the games that I do own, would hopefully have the best figures since I would have had plenty of time to practice. Since I don’t own Final Girl: The Happy Trails Horror, I decided to start there.
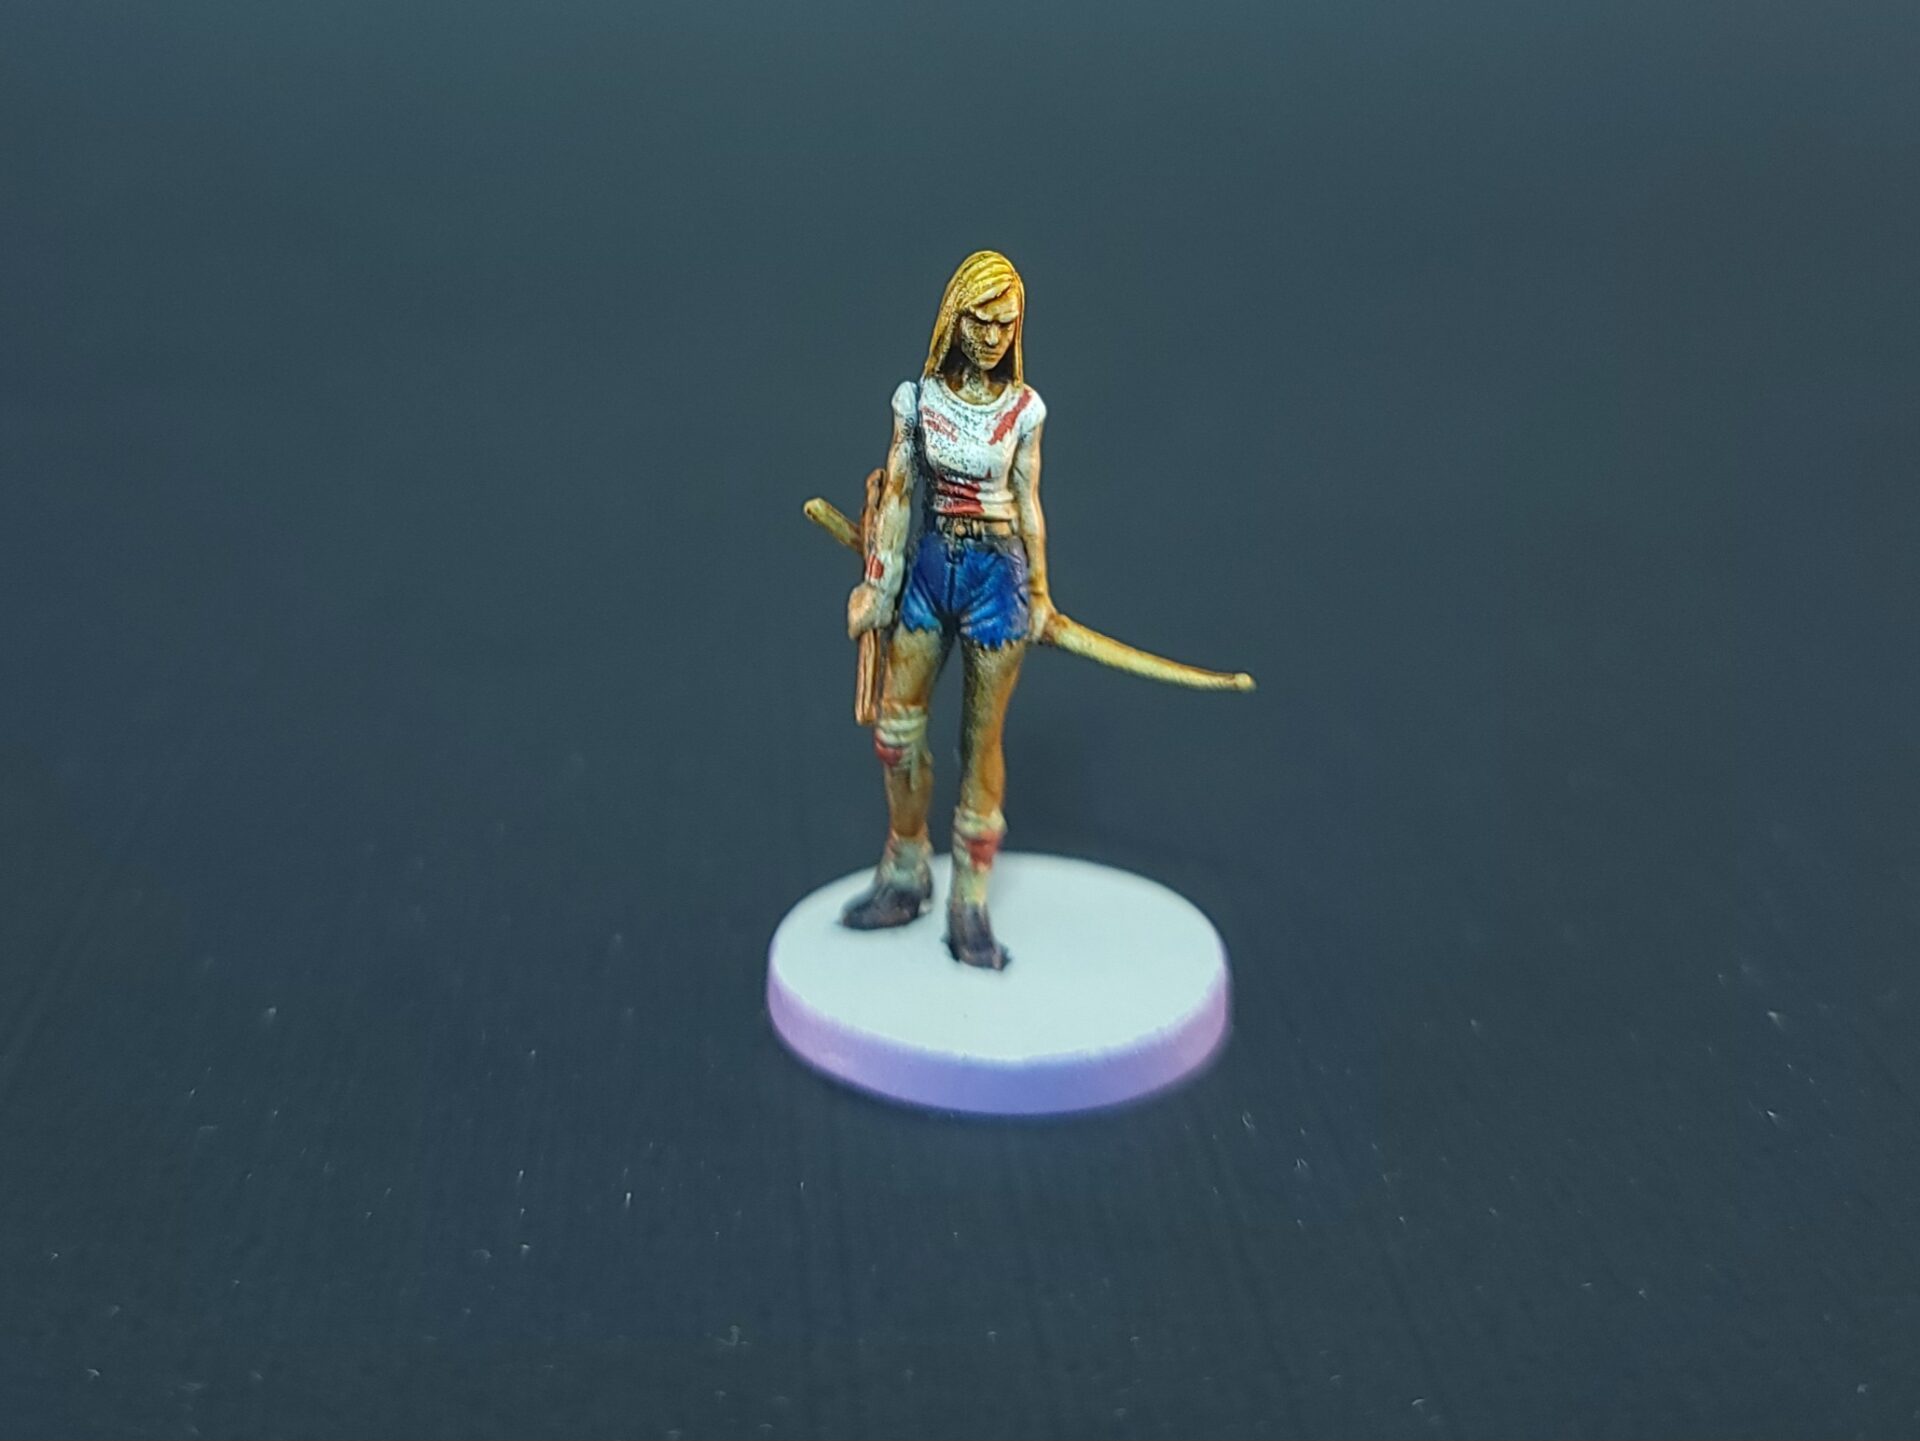
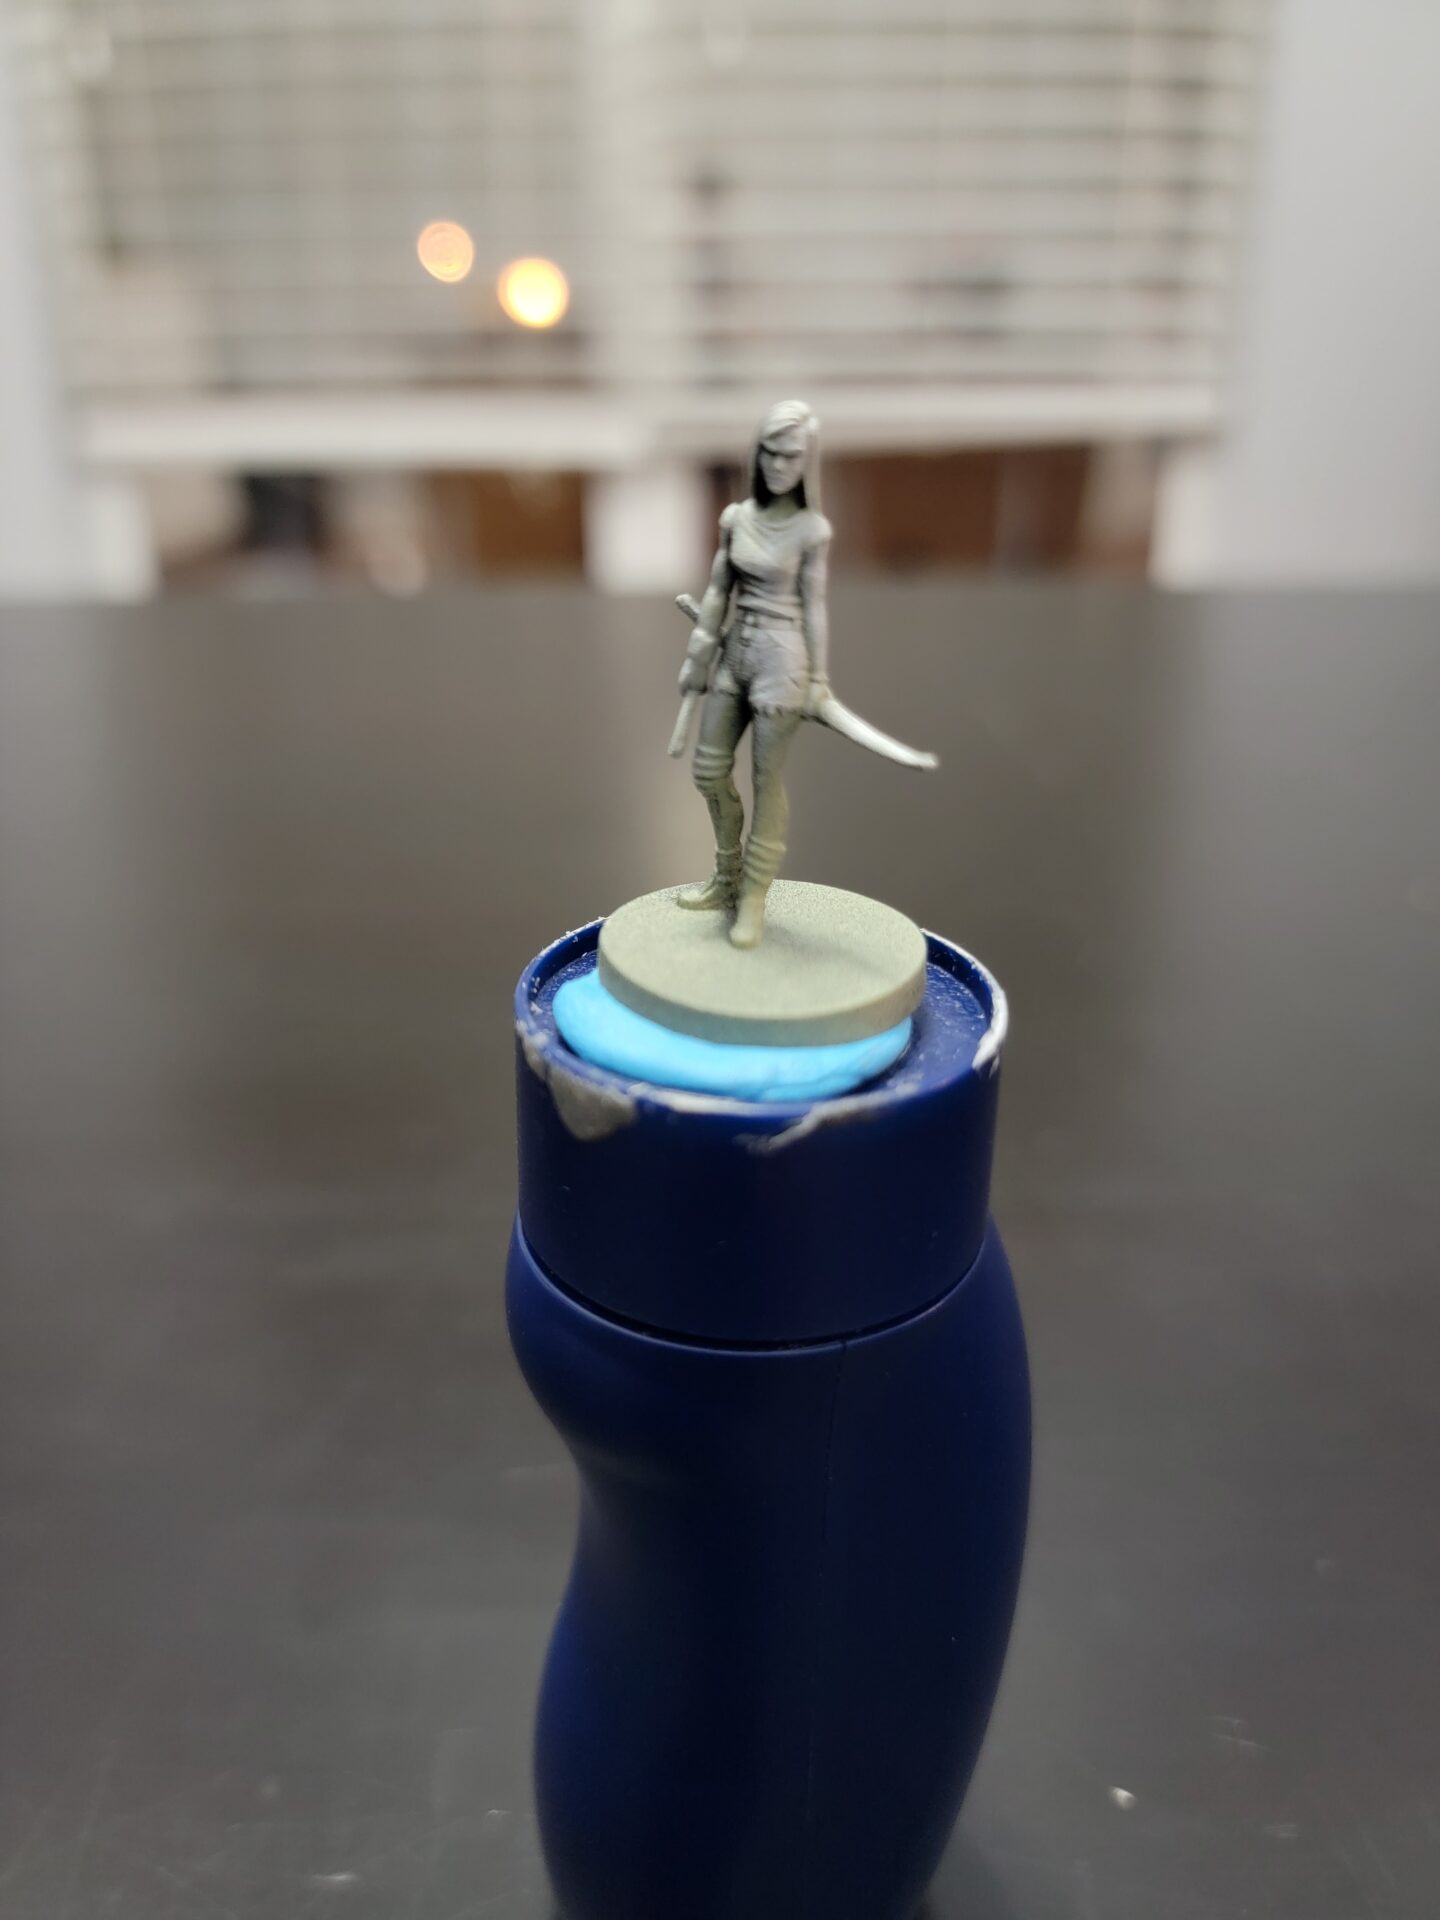
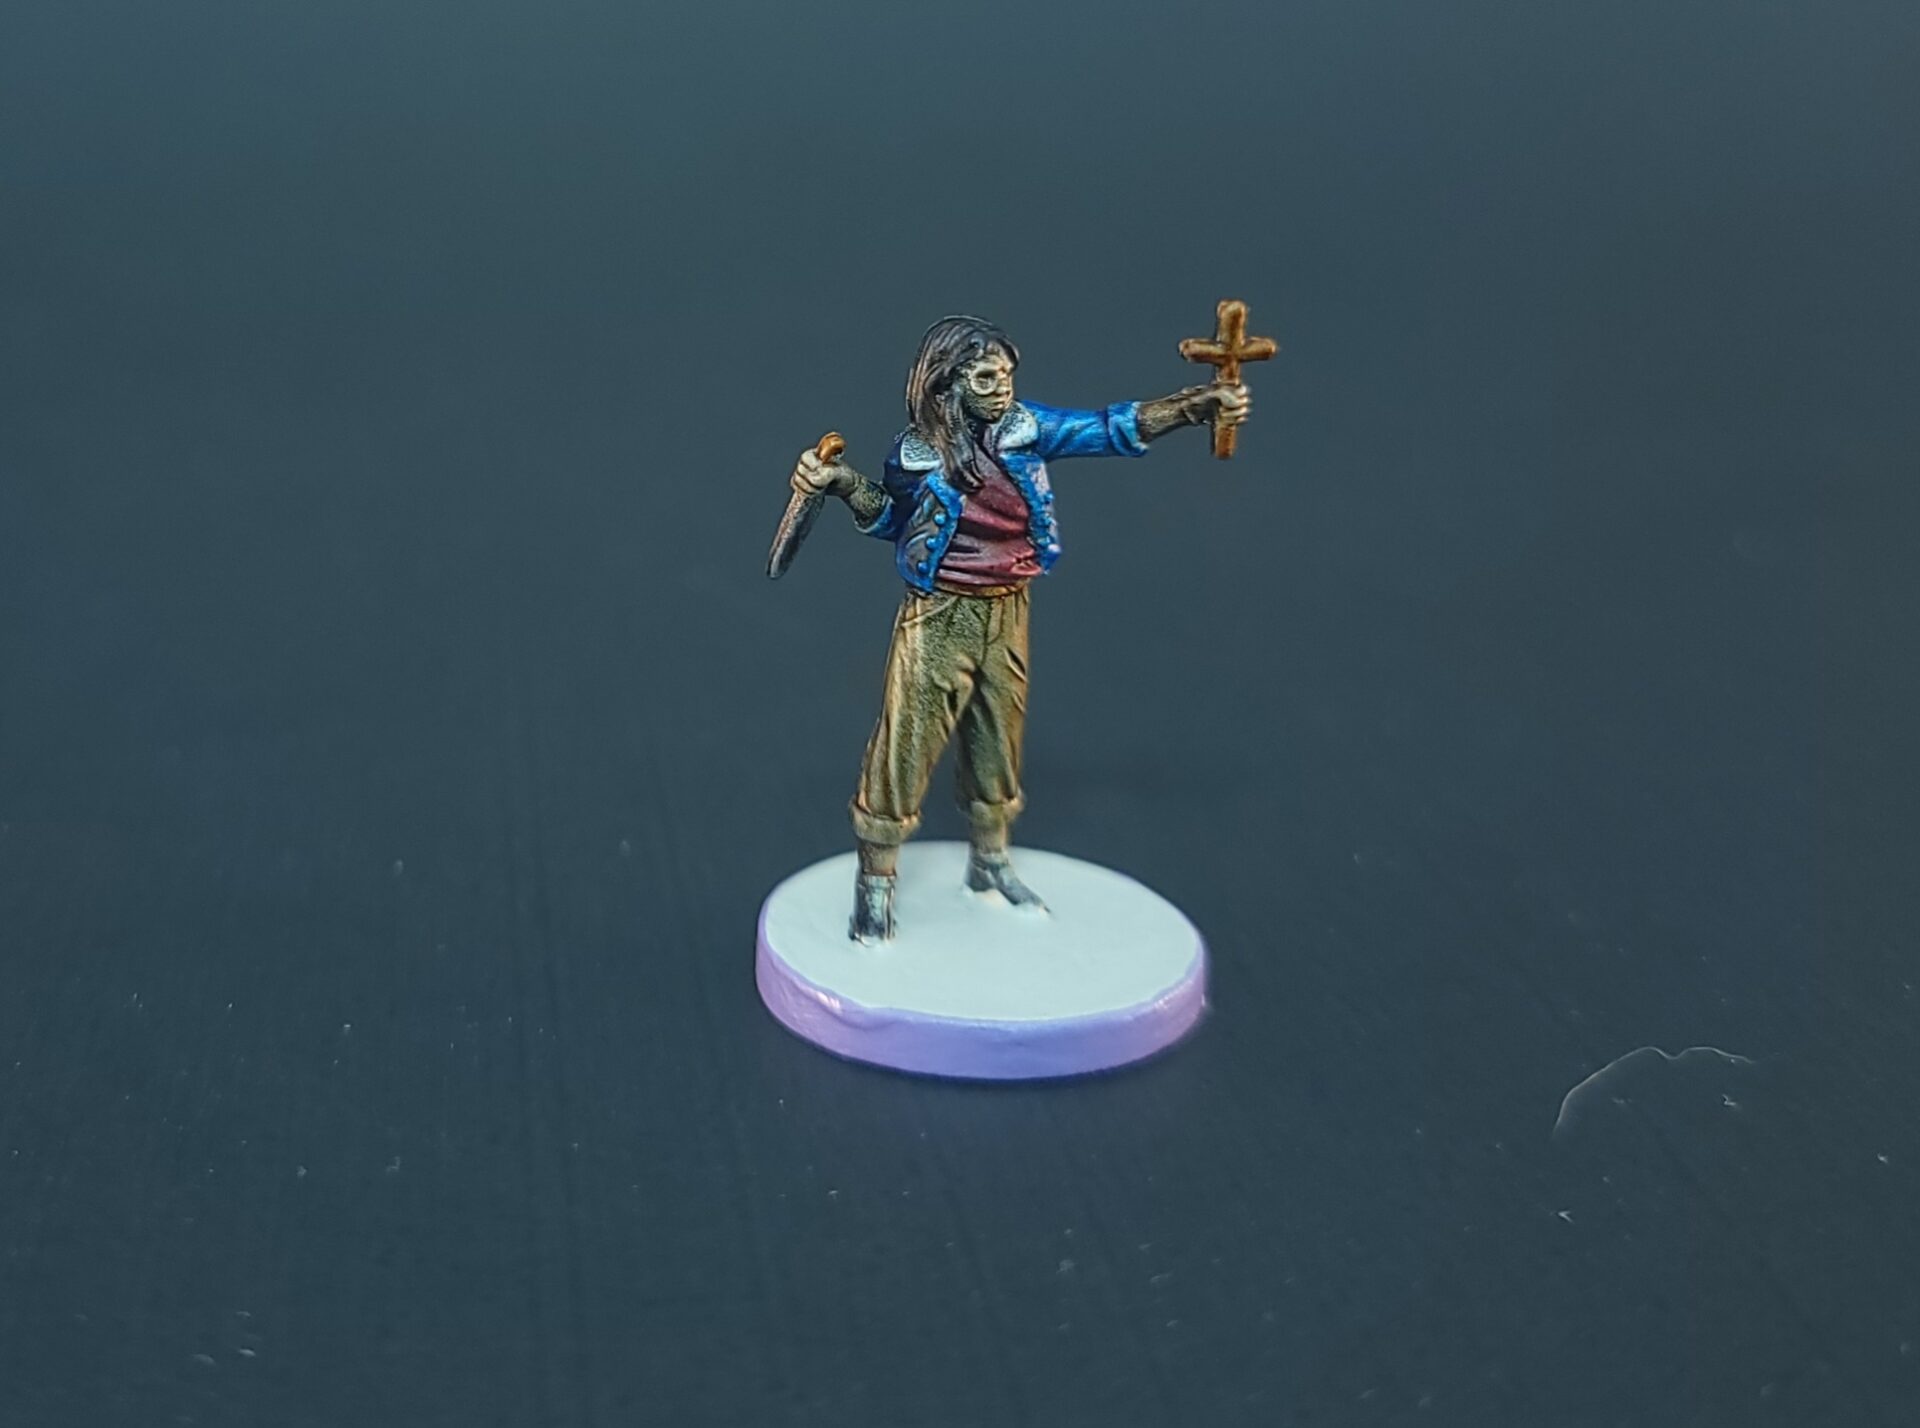
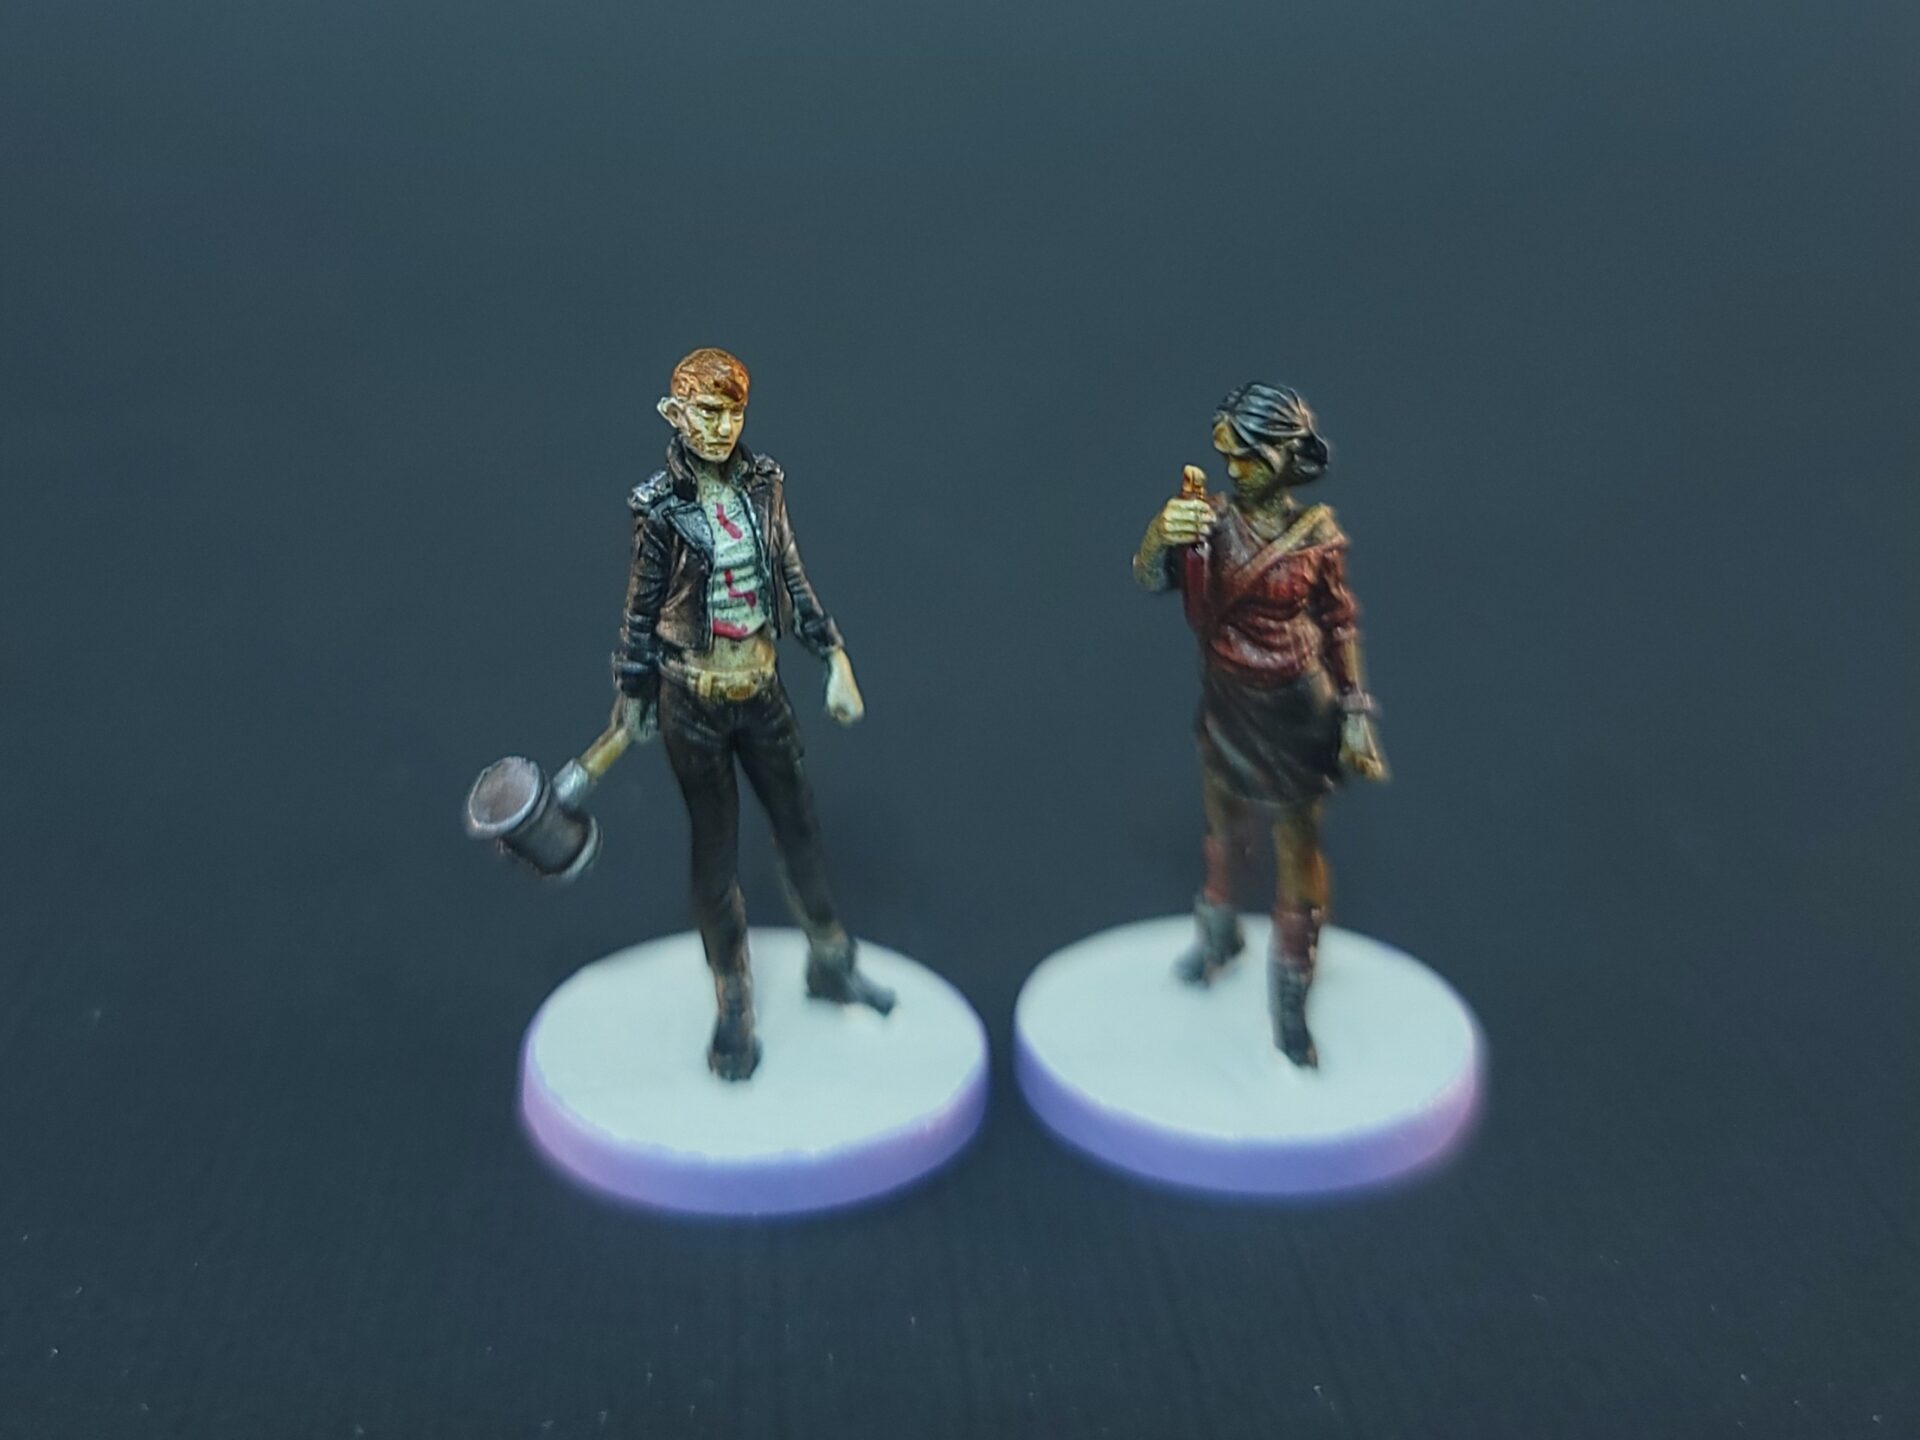
That thinking didn’t really work out as the first girl I ever did, Laurie, ended up being one of my favorites of the whole set! I quickly realized with her that any cloth that I needed to be white, I could just leave the Necrotic Flesh primer visible and it would give off a “dirty shirt” vibe. This was much preferable over trying to use the Holy White Speedpaint, as the white Speedpaints are a lot closer to grey, in my experience. Laurie and Reiko were also the figures where I decided paint their bases using the aforementioned Stone Golem and then using Oozing Purple acrylic around the outer rim to set them apart from the Killers. I think this touch worked out great and looks nice on the board while playing.
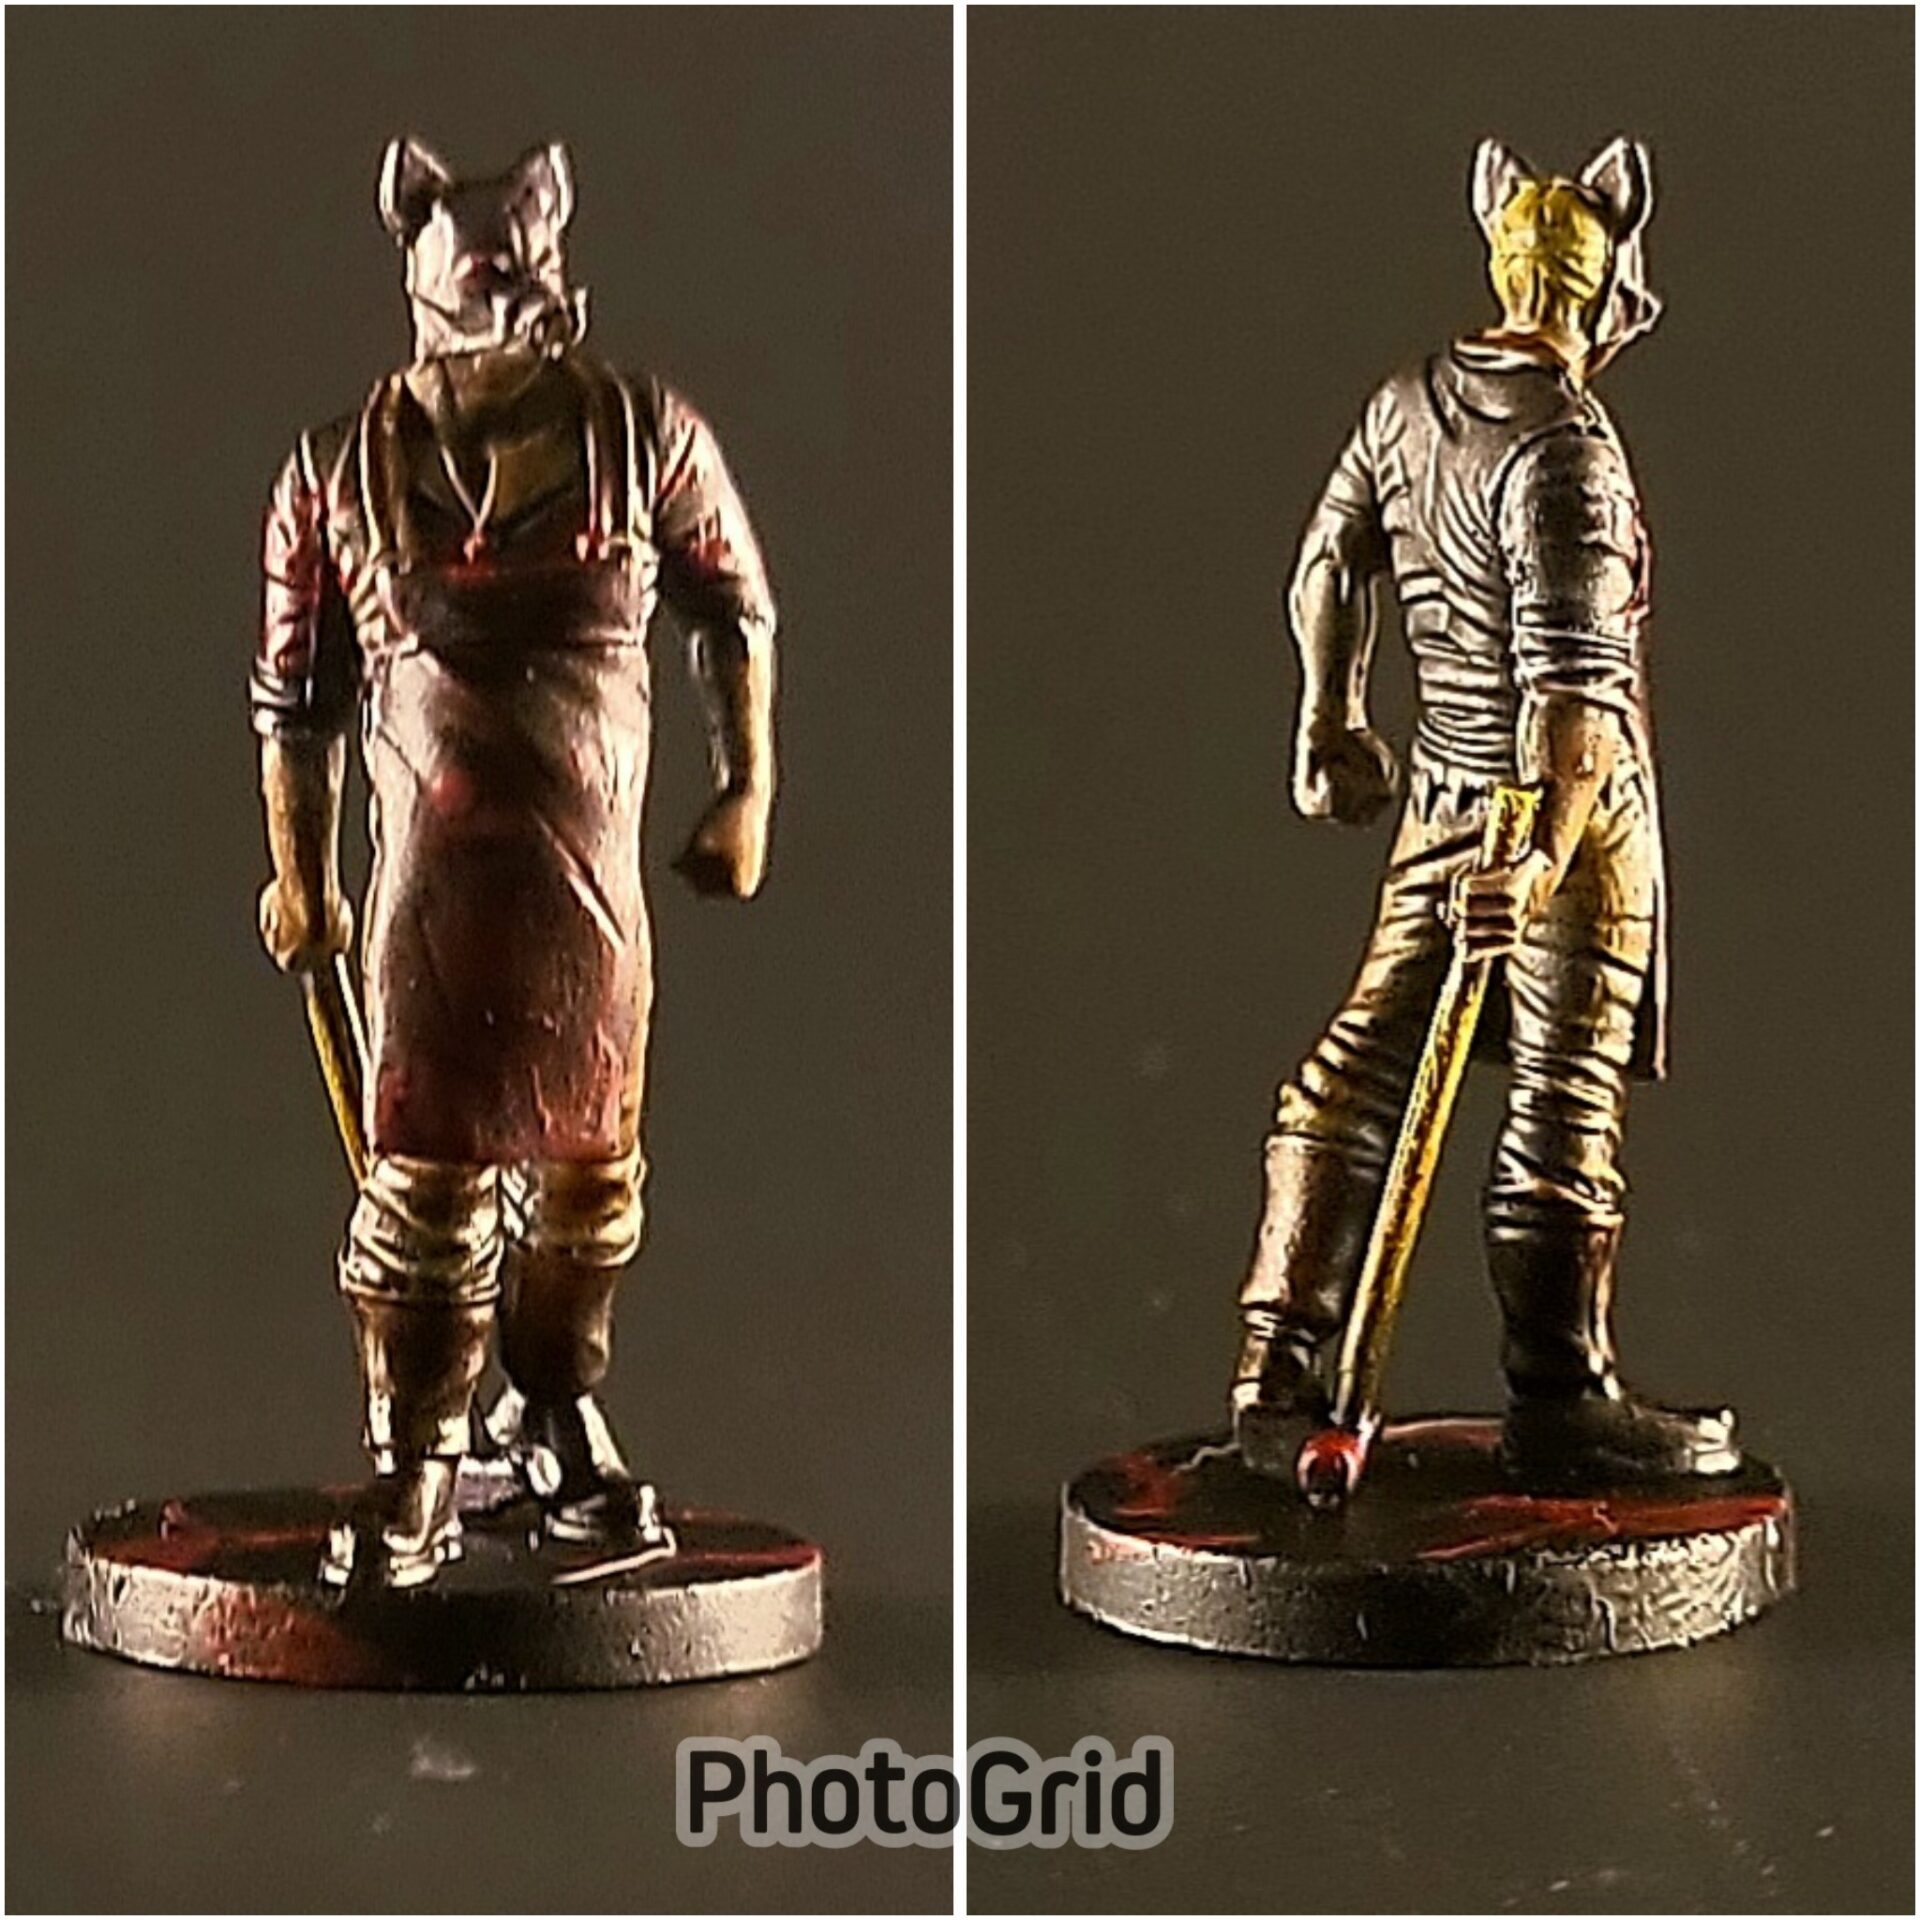
Hans the Butcher, Final Girl’s version of Jason Vorhees, was the first Killer I worked on. He probably ended up turning out darker than I wanted as there isn’t a ton of contrast between his apron and shirt. I do think that I did a pretty good job of making the apron look like it has both dried/stained blood on it as well as fresh. For the stains, I used Blood Red Speedpaint, but for the fresh blood, I used a blood effect called Glistening Blood. This paint ended up being my go-to when it came to splattering blood on various weapons and clothing articles throughout this project. I also decided to differentiate the Killers with their bases being all Matt Black and then splattered with the Glistening Blood.
.
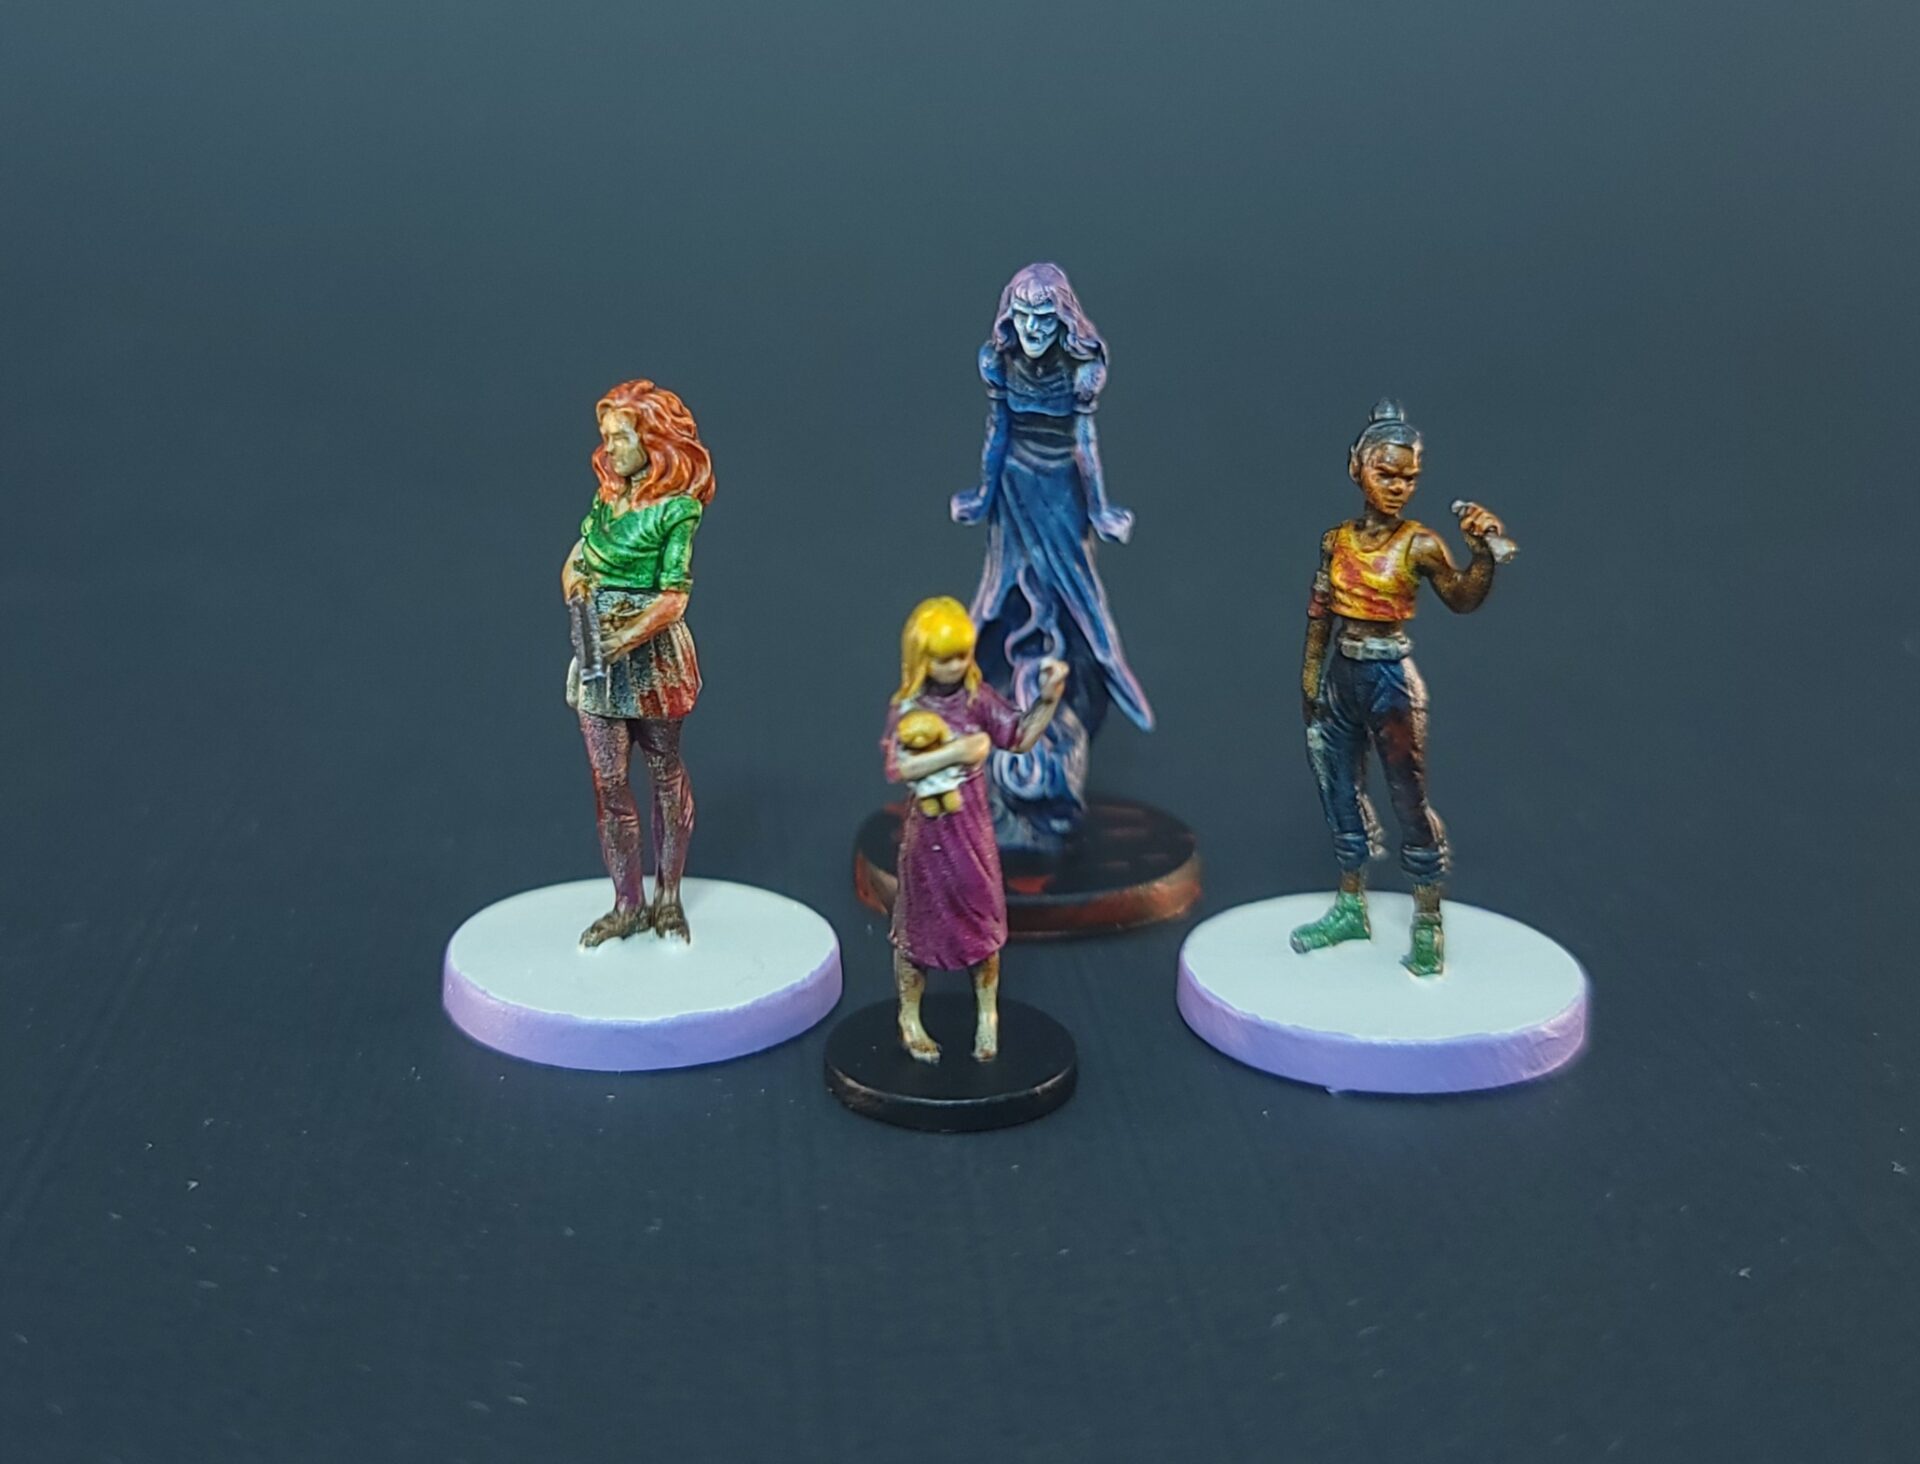
Alice, Selena, Carolyn, and the Poltergeist
These next figures come from the feature film Final Girl: The Haunting of Creech Manor, another Series 1 film that I don’t own. Alice and the little girl, Carolyn, are two of my least favorites I did. The Crusader Skin Speedpaint pooled up on her face and made it lose all its definition. I learned later that I should have probably hit it with Matt White and repainted, but I hadn’t thought of that yet. I kept Carolyn’s base black as she is not a true Final Girl, and I think, she can be possessed in the game but since she isn’t one of the Killers either, I decided to keep the blood splatters off her base.
Selena ended up being one of my favorites, but I want to touch on the Killer of this group, the Poltergeist. While I don’t think she stands up to a lot of the paint jobs I see on Reddit, Instagram, and the like, I am really proud of her because I had a lot of anxiety going into her paint job. With her obviously being a ghost, I wanted a spectral look but did not want to resort to just one color, so I tried a different approach. I first painted her all over with Highlord Blue and then coated her in Rust-oleum Ultra Cover Matte Clear. This is what I used to finish up all the figures you see but I used it at this stage because with a lot of version 1.0 Speedpaints, there is a tendency for them to “reactivate” if you put another Speedpaint on top of them. Sealing the mini at this point was going to stop this reactivation from happening while also creating a sort of “save point” for the miniature.
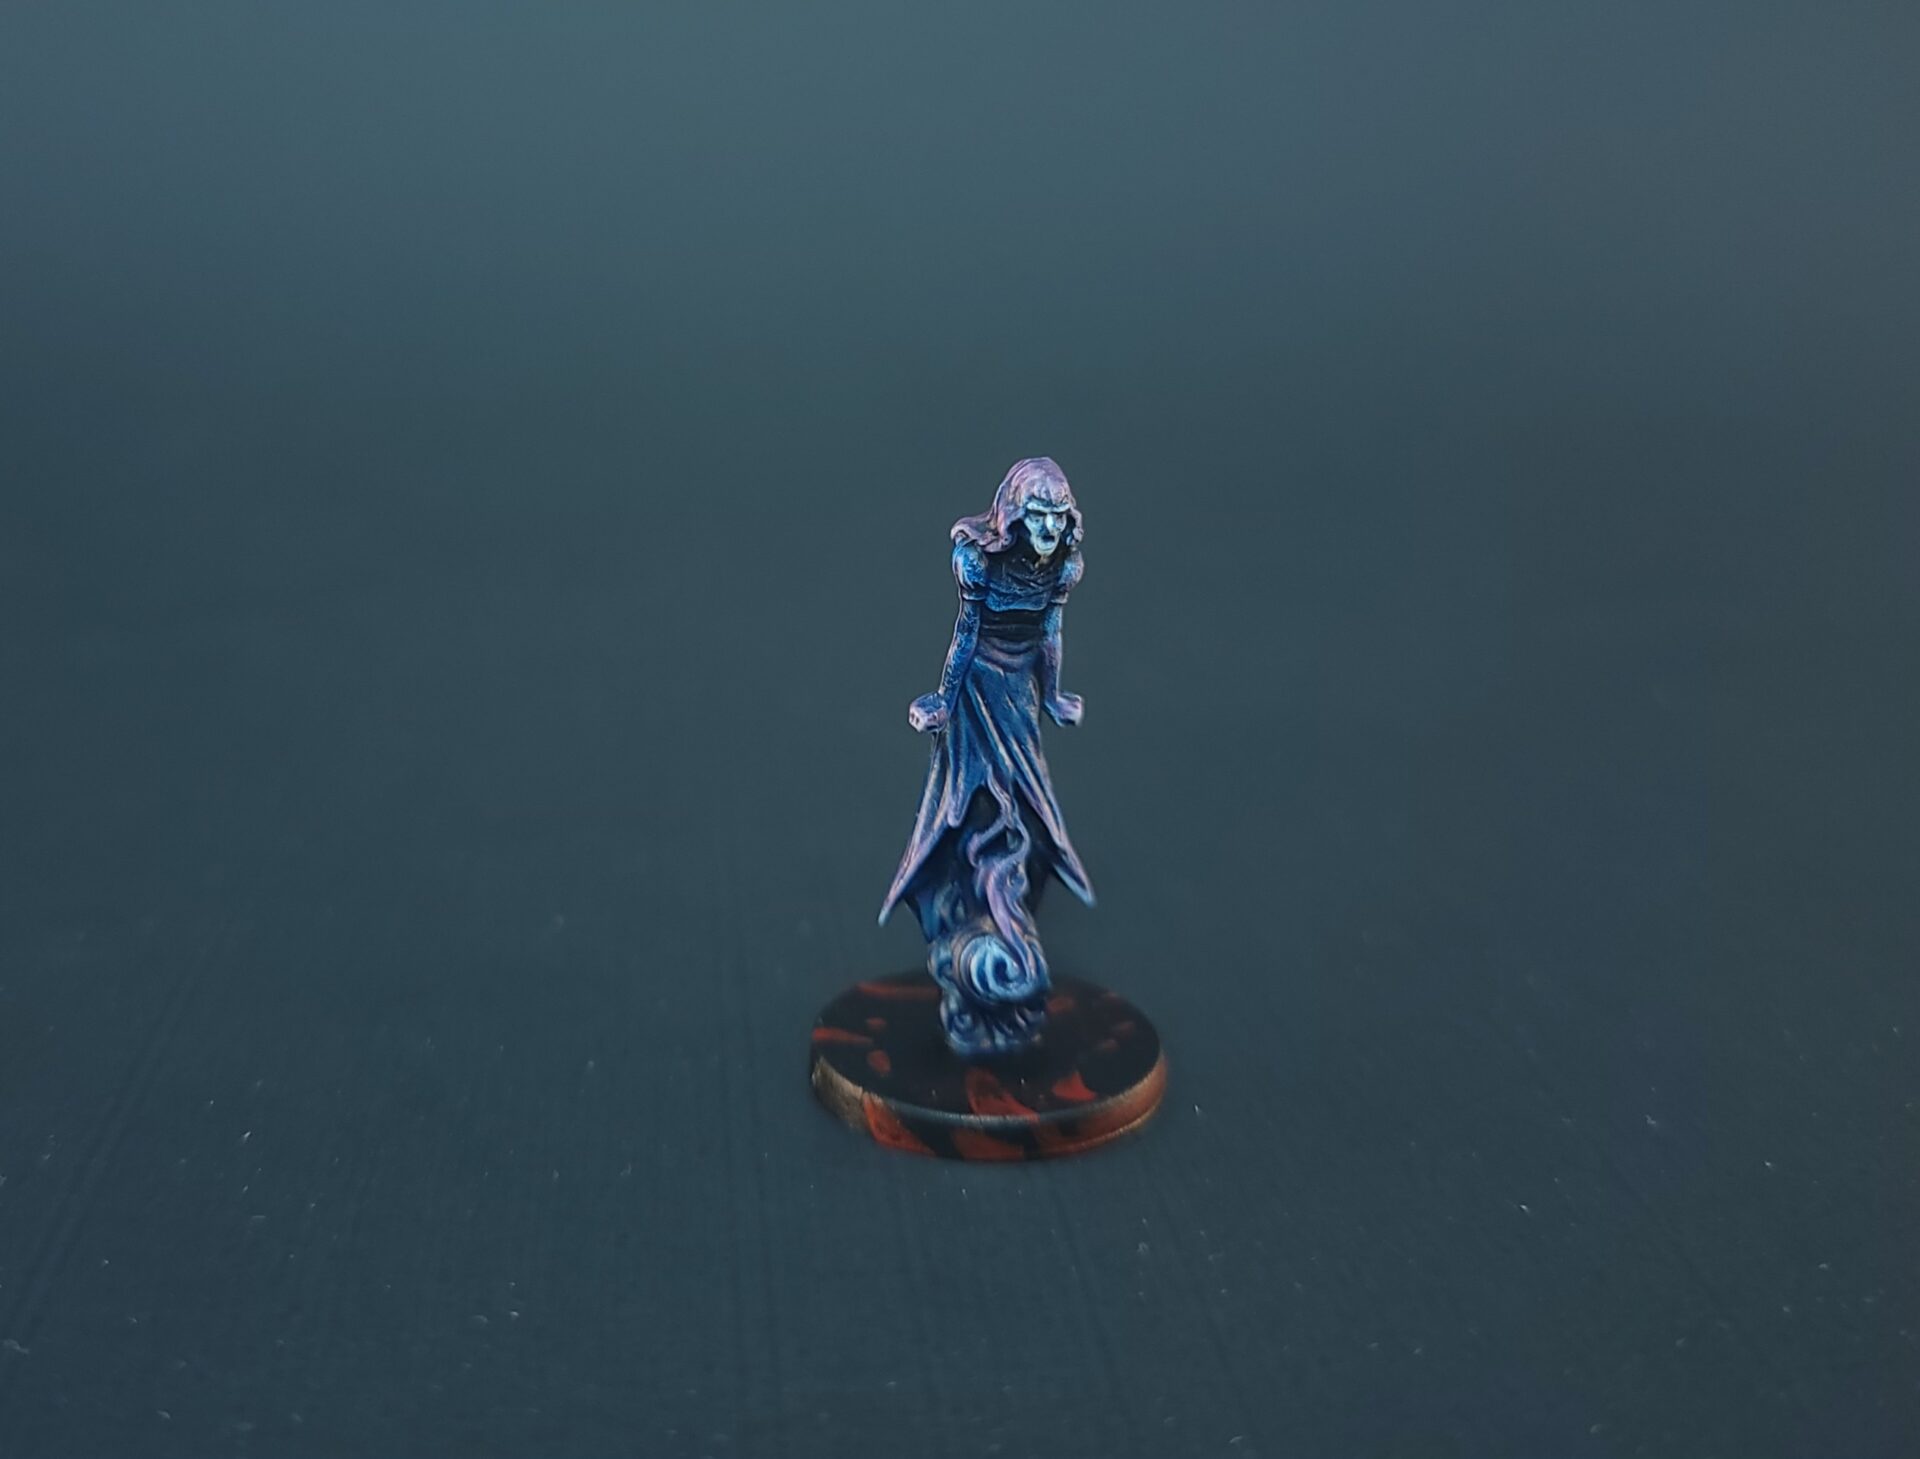
After drying, I used Matt White and dry-brushed the majority of the figure, then went back over these white areas with Magic Blue, which served as a much brighter blue from the previously used Highlord Blue. Again, I sealed the miniature, and then dry-brushed Matt White over her hair and the very edges of her dress, and the edges of the flame at the base. I hit these spots with Hive Dweller Purple adding a different color to her palette. Lastly, I dry-brushed Matt White one more time, heavily hitting her face, her hands, and the very center of the flame, leaving all of these areas white in order to stand out. I was really proud of the layering I did with these Speedpaints and I think it came out just the way I wanted.

Nancy, Sheila, and Dr. Fright
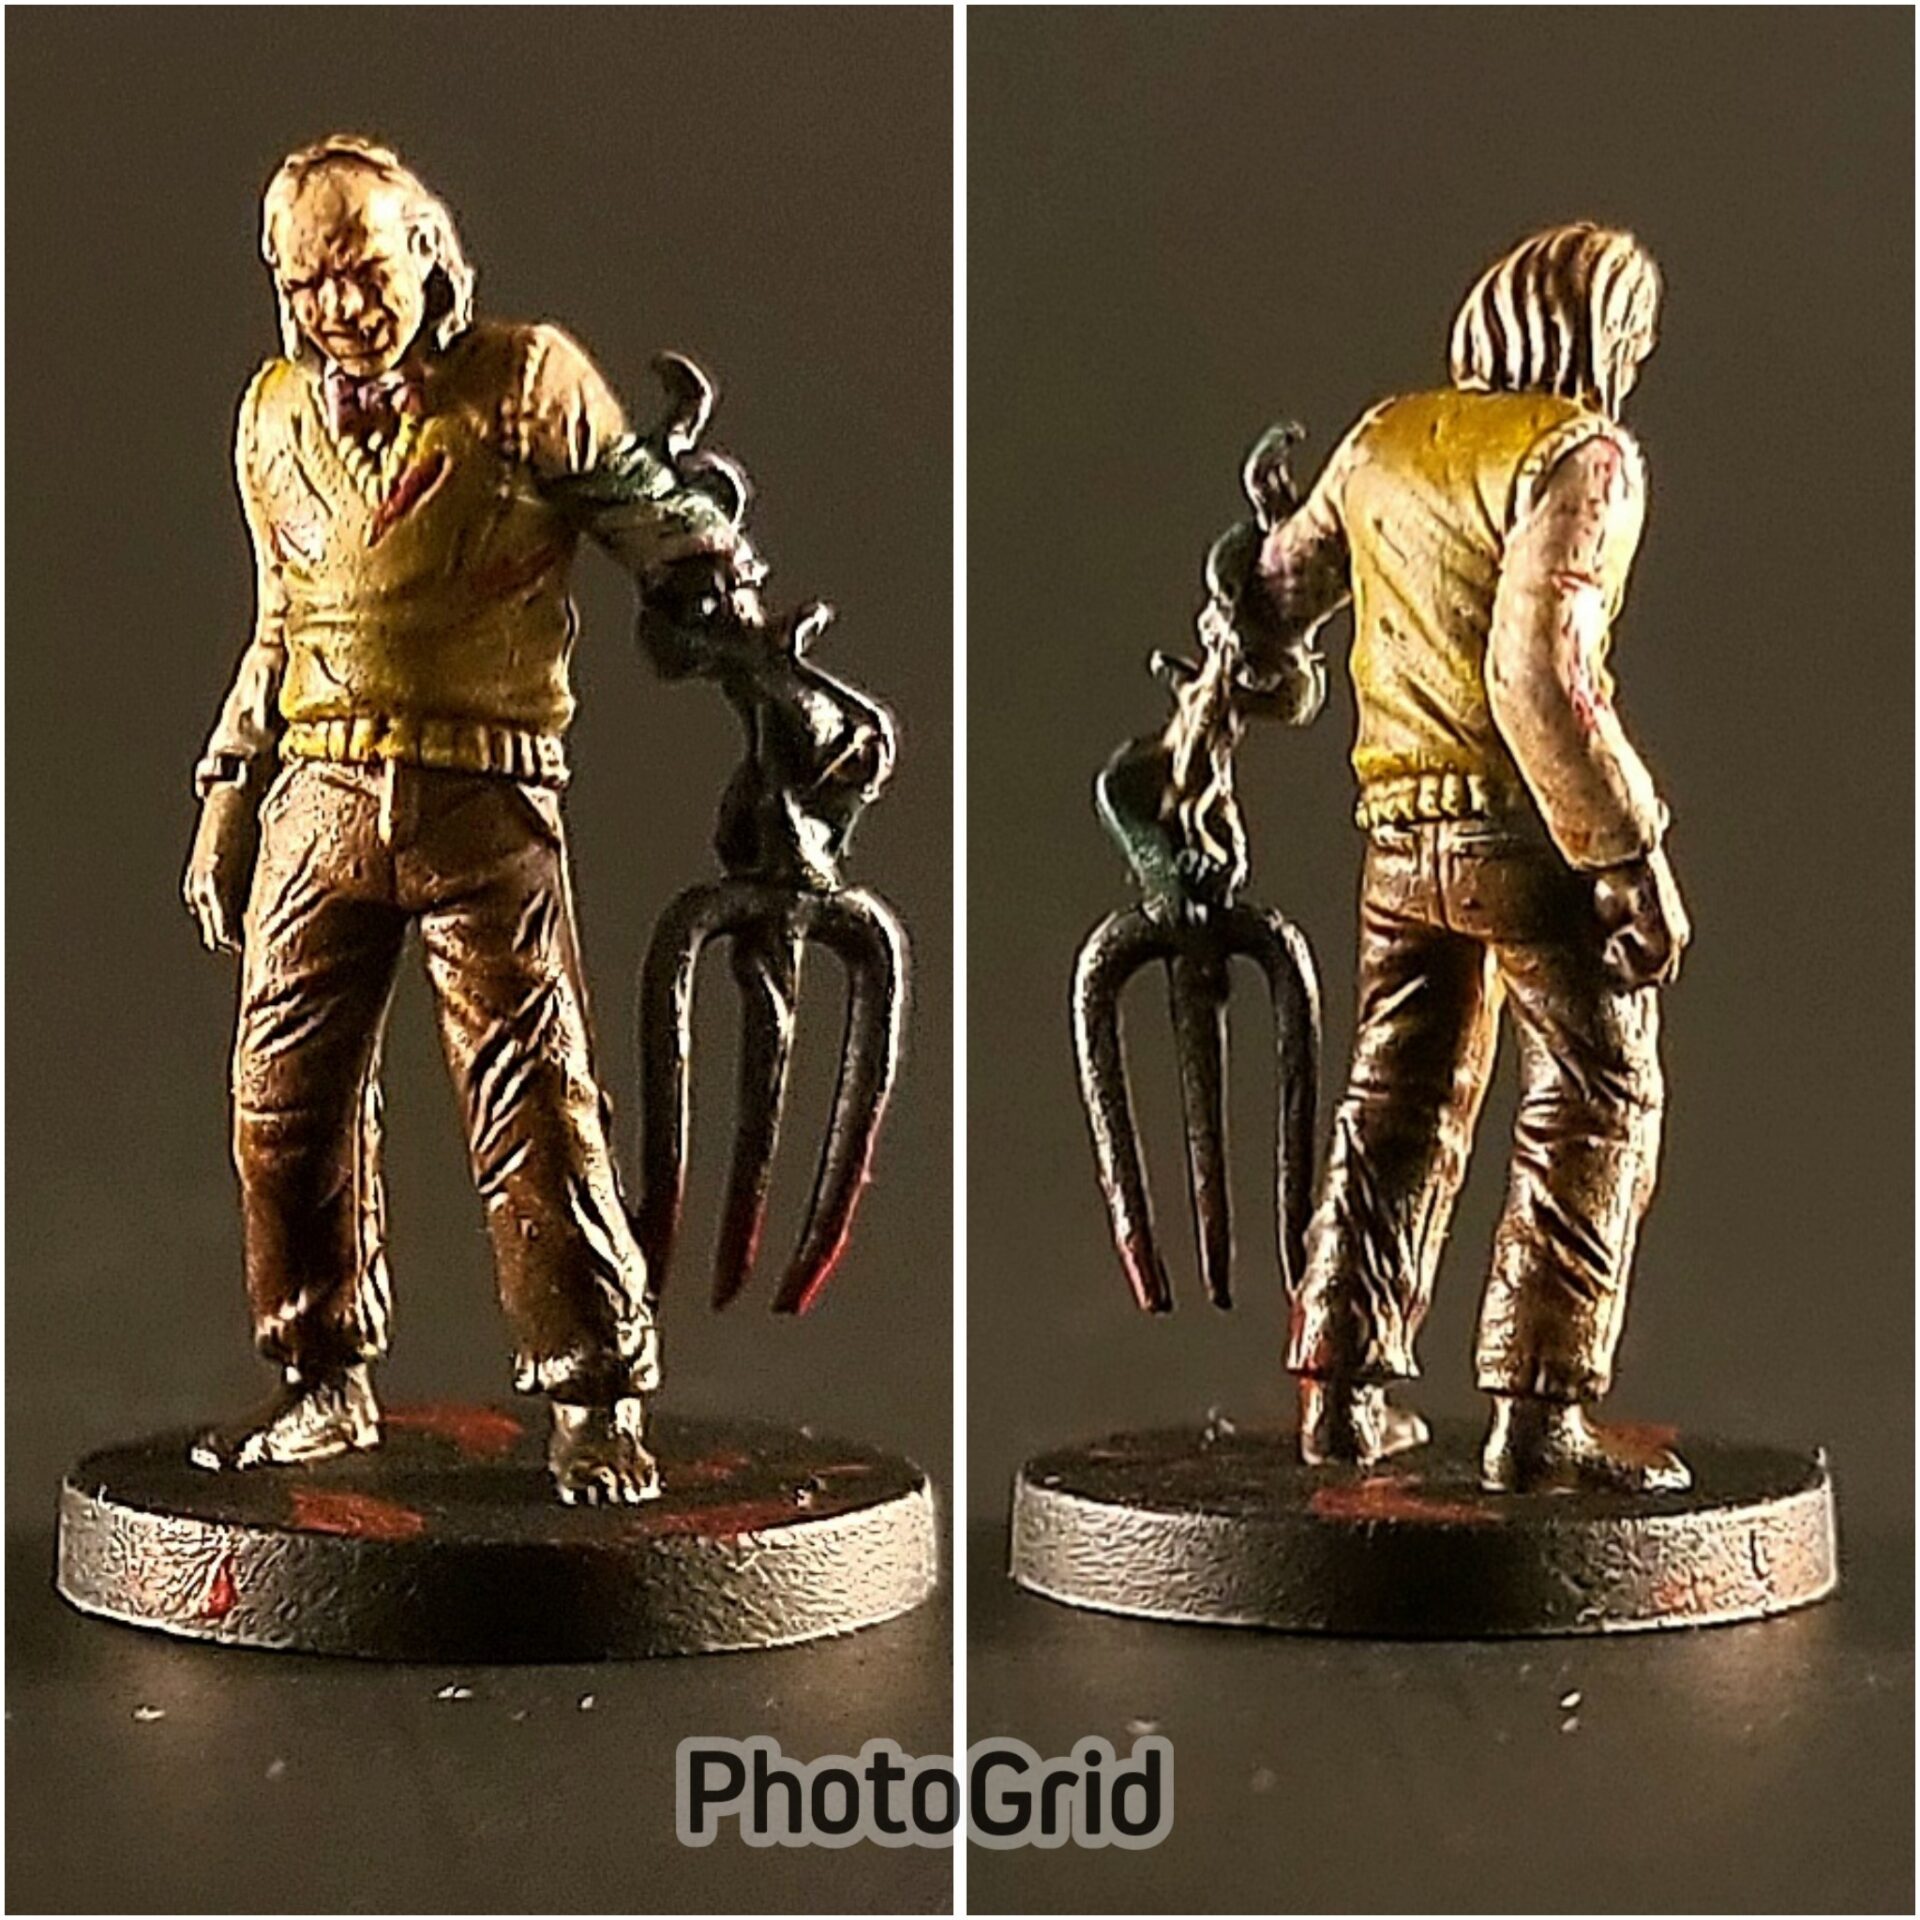
At this point, I was able to move onto a Feature Film I actually owned, Final Girl: Frightmare on Maple Lane. I really love this Feature Film but painting this set was fairly challenging for some reason. First off, Dr. Fright is just so brown. I expected his shirt to be much more yellow, as I used Ancient Honey which gave me really nice results on some of the girls’ hair but it never really brightened up. I also don’t fully know what this ghostly tendril looking thing is wrapping around his arm. I was hoping it would look more ghoulish but it ended up just looking like a snake wrapped around his arm. I do like the coloration on his face (a mixture of Crusader Skin and Peach Flesh) as well as the greying on the edges of his hair.
I think I like Shiela more than I like Nancy, but I did not know how to handle her glasses, so I just left them the primer color, which I guess works. Nancy’s shirt turned out greener than I wanted as I was shooting for a teal color but everyone who has seen her has complimented me on her stripes on the shirt. Note: I did not free-hand the stripes, they were already molded into the figure and the Speedpaints really highlighted this. I do like Nancy’s weapons, painted in Broadsword Silver (the first metallic Speedpaint I’ve used) and then covered in Glistening Blood.
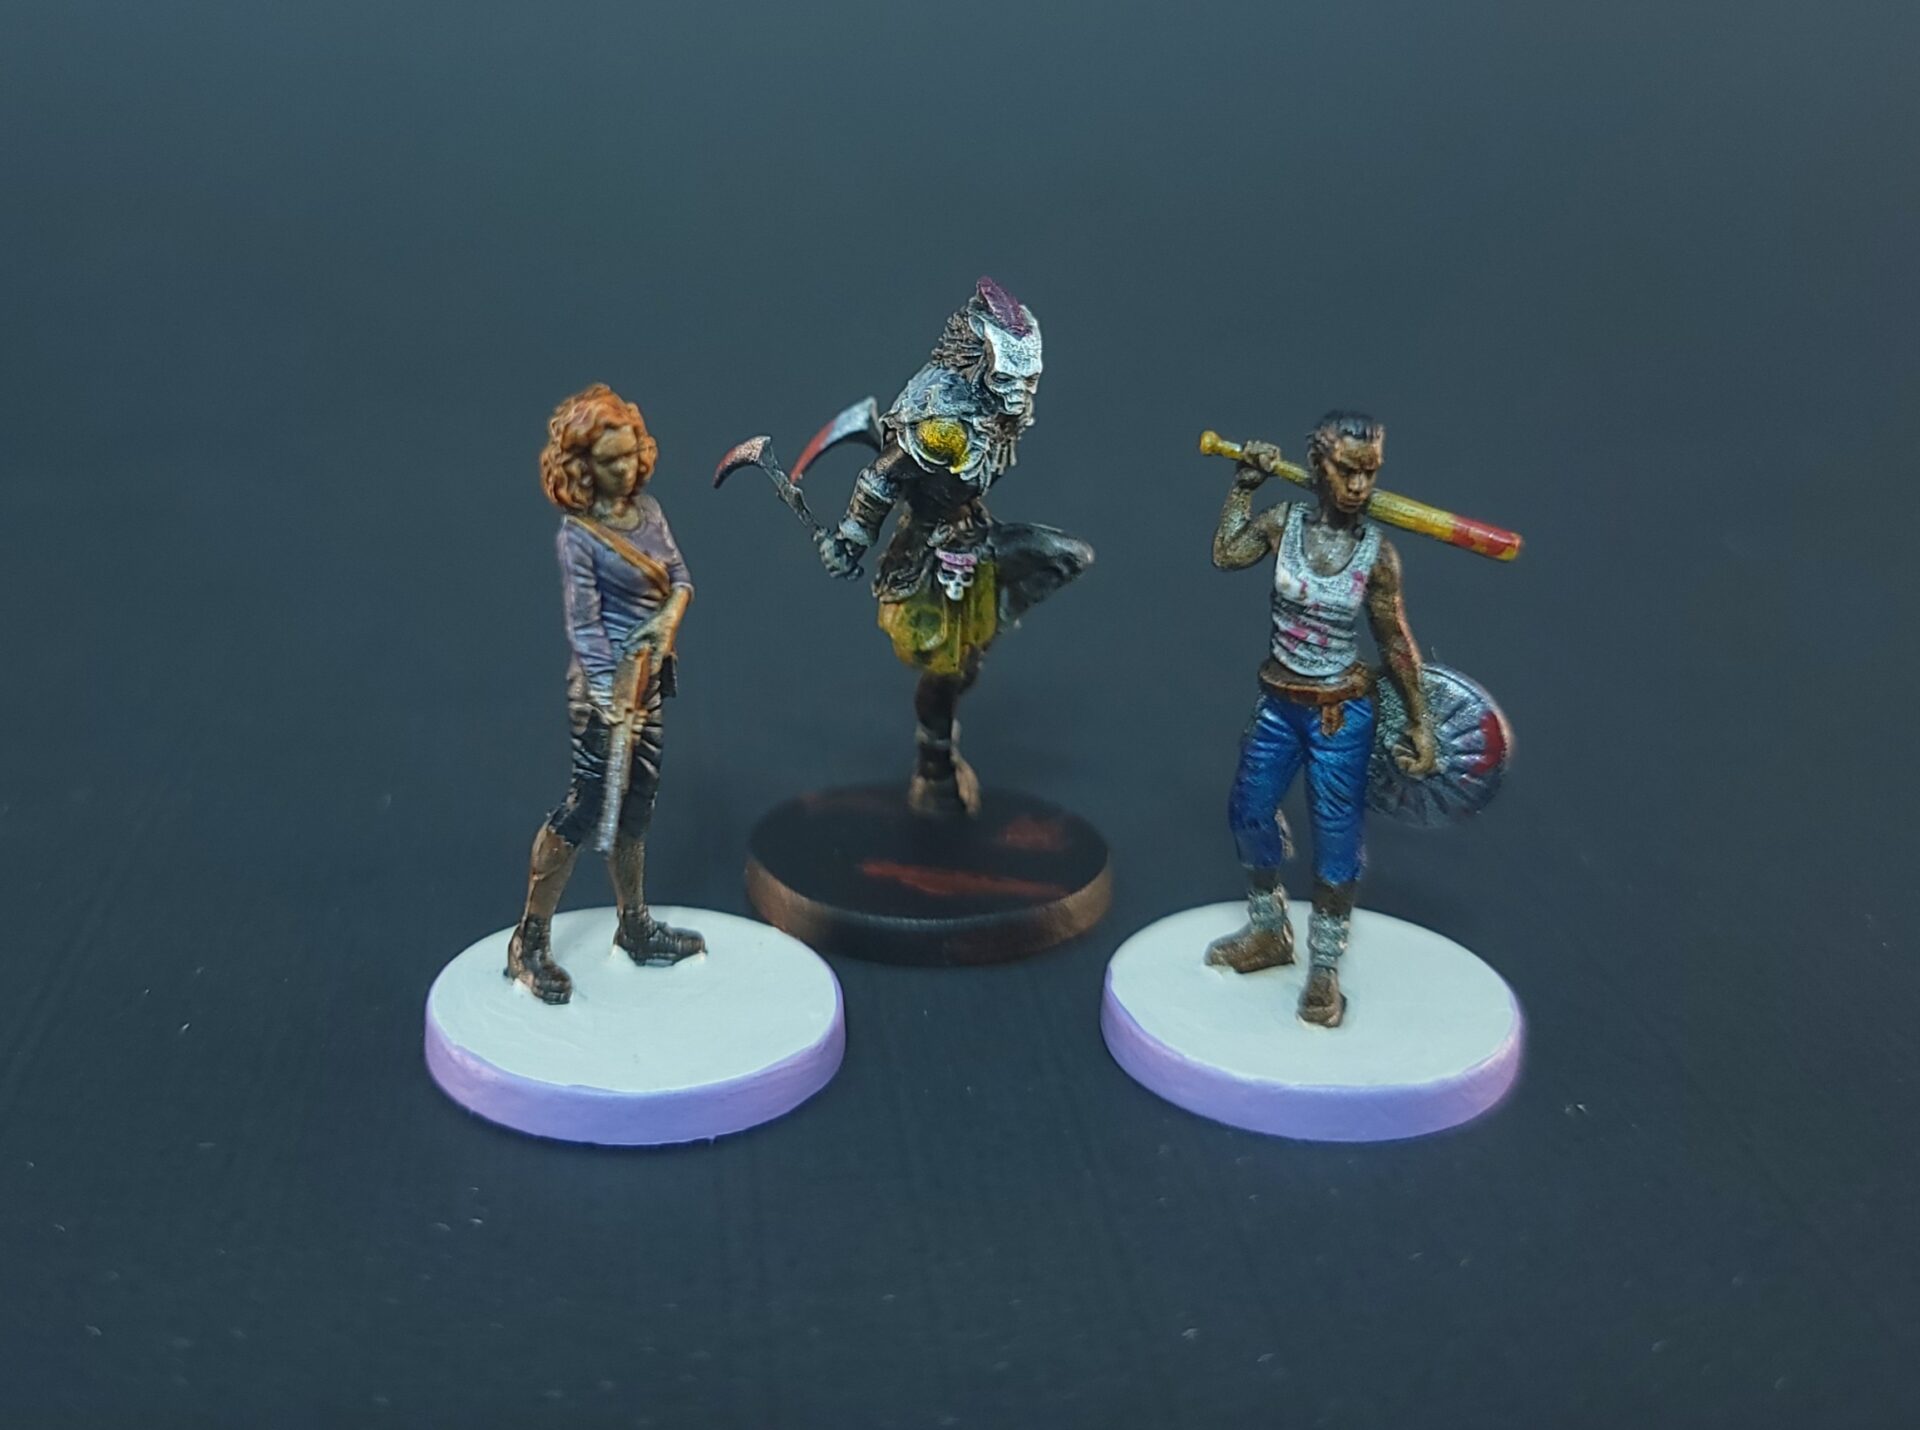
Adelaide, Barbara, and Inkanyamba
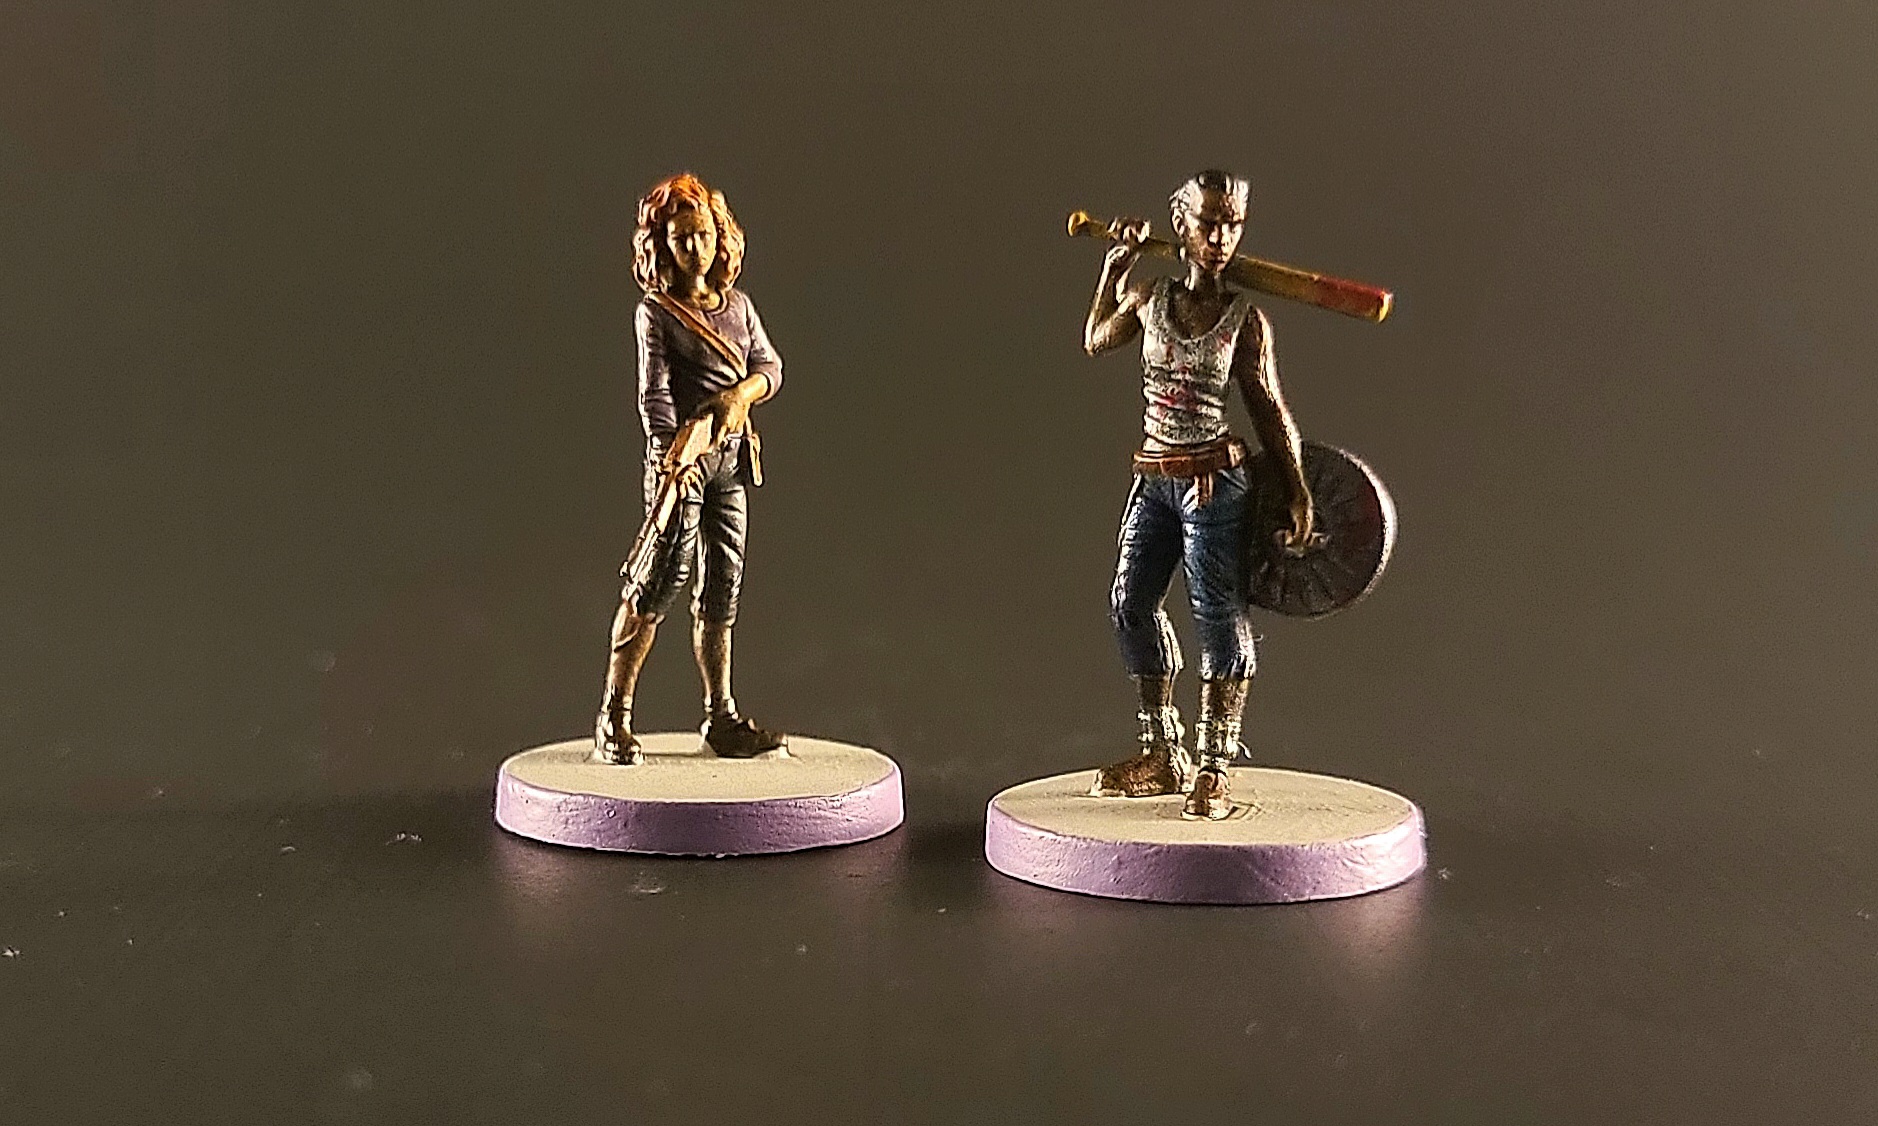
This set is from Final Girl: Slaughter in the Groves and has two of my favorite figures and one of my most disappointing ones. First, let’s get the bad out of the way. I do not know what happened to Barbara’s face, but it has a huge dark splotch on it and no matter what I did, I could not get it covered. Her hair has a similar problem. It was like the paint would just slide right off. In general, she is just too dark. Also, her shirt doesn’t match her in-game look and that bothers me but there was no way I was attempting to free-hand grey and black stripes so she just got a purple shirt. I do like the gun but that’s about it.
On the other hand, I think Adelaide is one of my best girls. The blood splatters turned out nice, especially how much it pops on both the tan of the bat and the metal of the trash can cover. I also think keeping the tank-top white really allowed for a lot of nice definition on it.
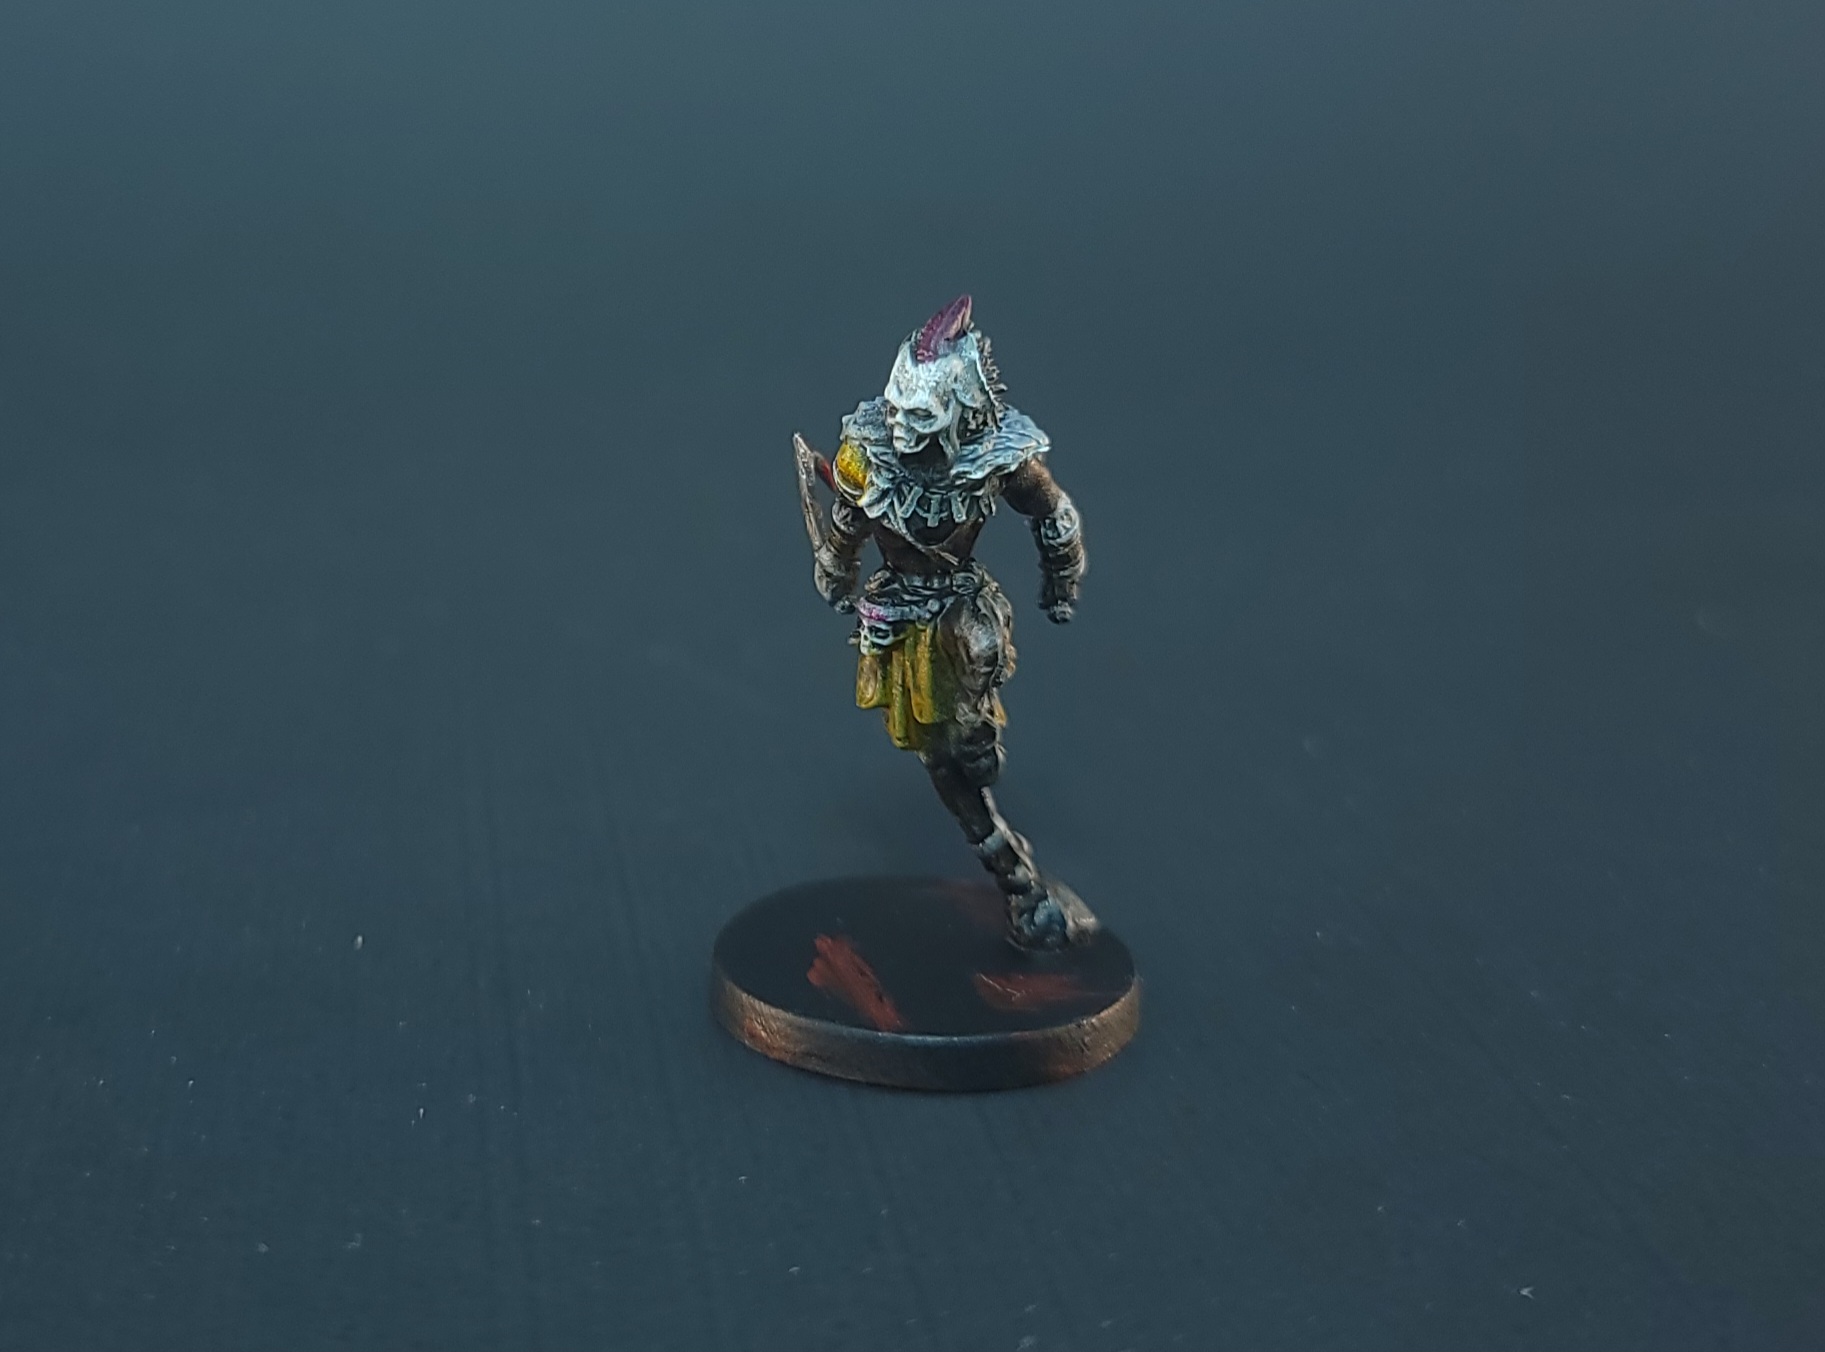
Much like the Poltergeist figure, I was intimidated by the Inkanyamba figure. He does not have a ton of colors in his in-game art and I did not want him to be a massive blob of browns like his friend, Dr. Fright. Thankfully, it came together and I think he turned out great. I did a mixture of Grim Black and Hardened Leather for his skin and then decided on two tones to work with on his garments. The lower pieces got hit with Ruddy Fur and the upper pieces received a mixture of Ancient Honey and Zealot Yellow. I knew I wanted to keep his skull mask the primer color, but I wanted to differentiate the fur on his back from both it, and the brown scheme of the garments. I ended up using a very light amount of Gravelord Grey on the fur and then dry-brushed Matt White on top of it to finish it off.
Asami, Charlie, Geppetto and his Puppets
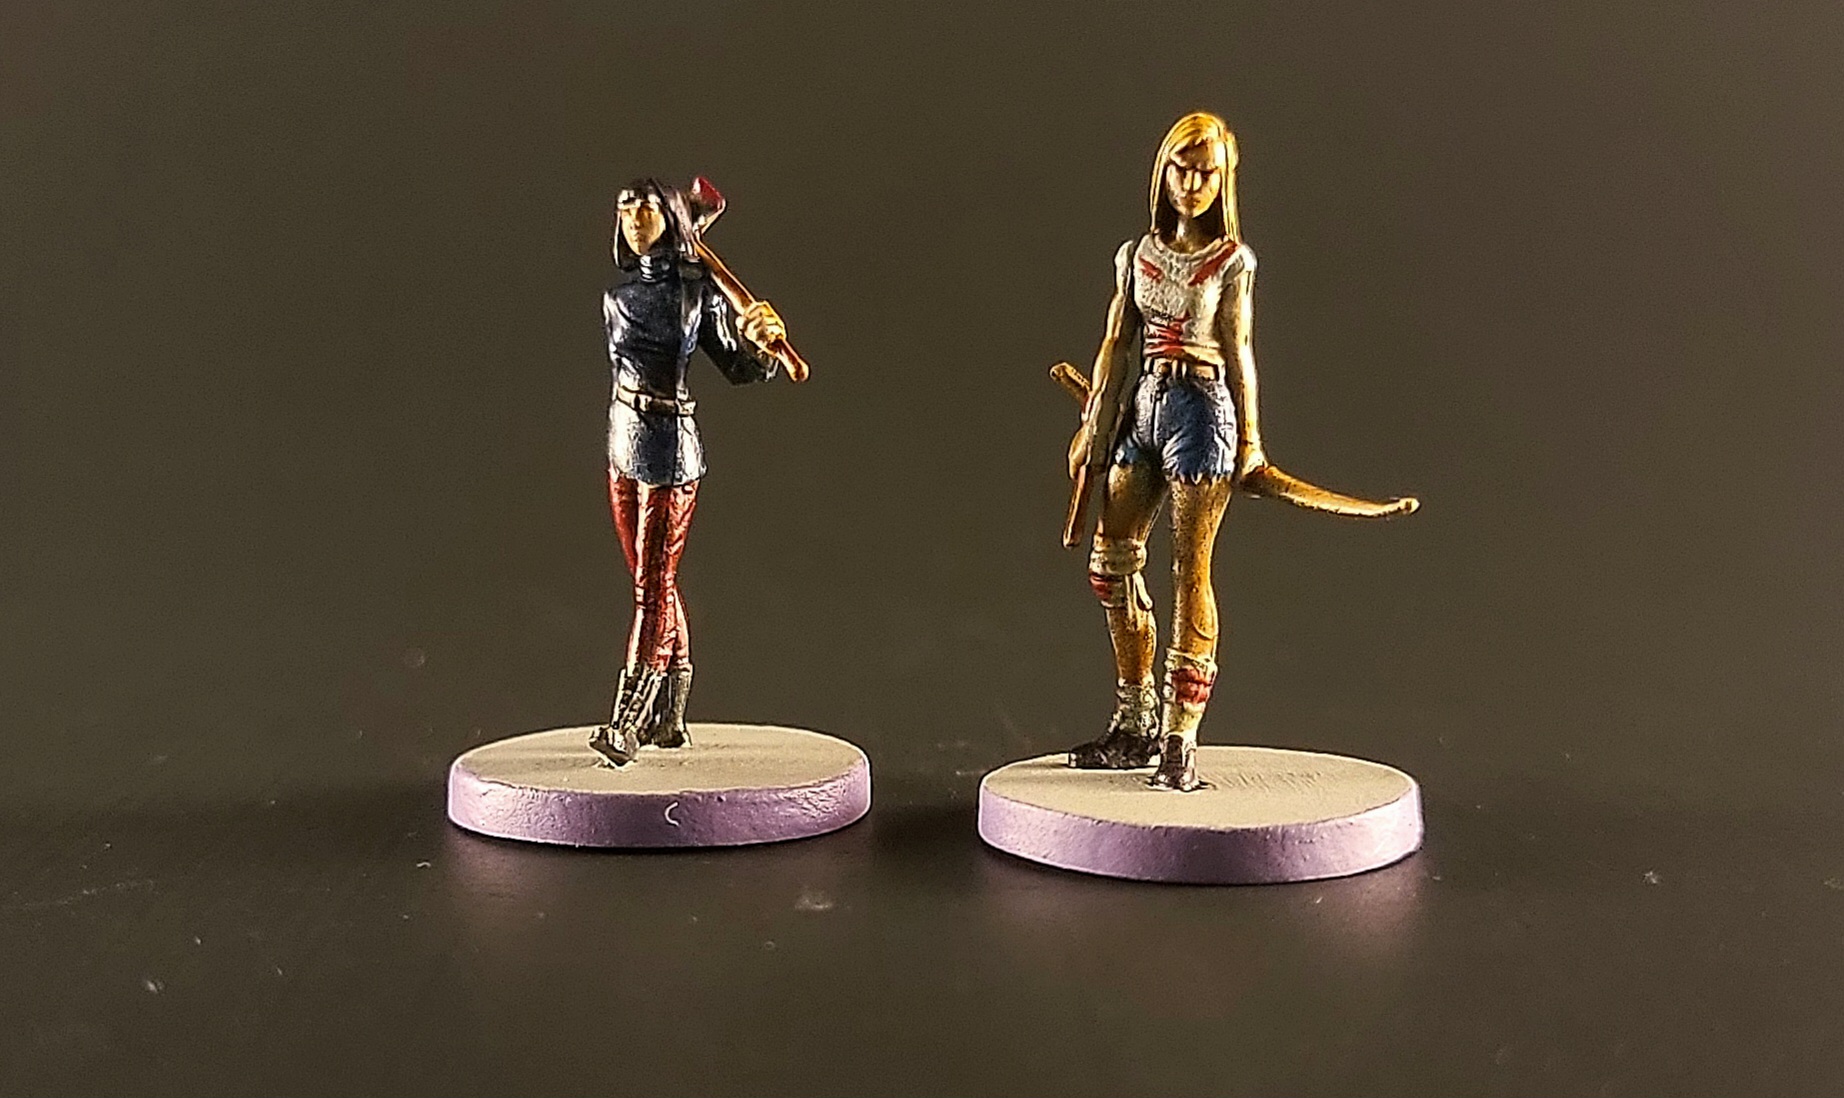
Lastly, I tackled my favorite film that I own, Final Girl: Carnage at the Carnival. Asami was a bit disappointing, as she turned out darker than I wanted and I never could seem to lighten her up. The strap on her bag was very difficult to get without it blending in with her shirt and it all just kind of washes together. Thankfully, Charlie turned out real nice for such a simple color scheme of black and white. The Broadsword Silver really pops on her Strongman Hammer too.
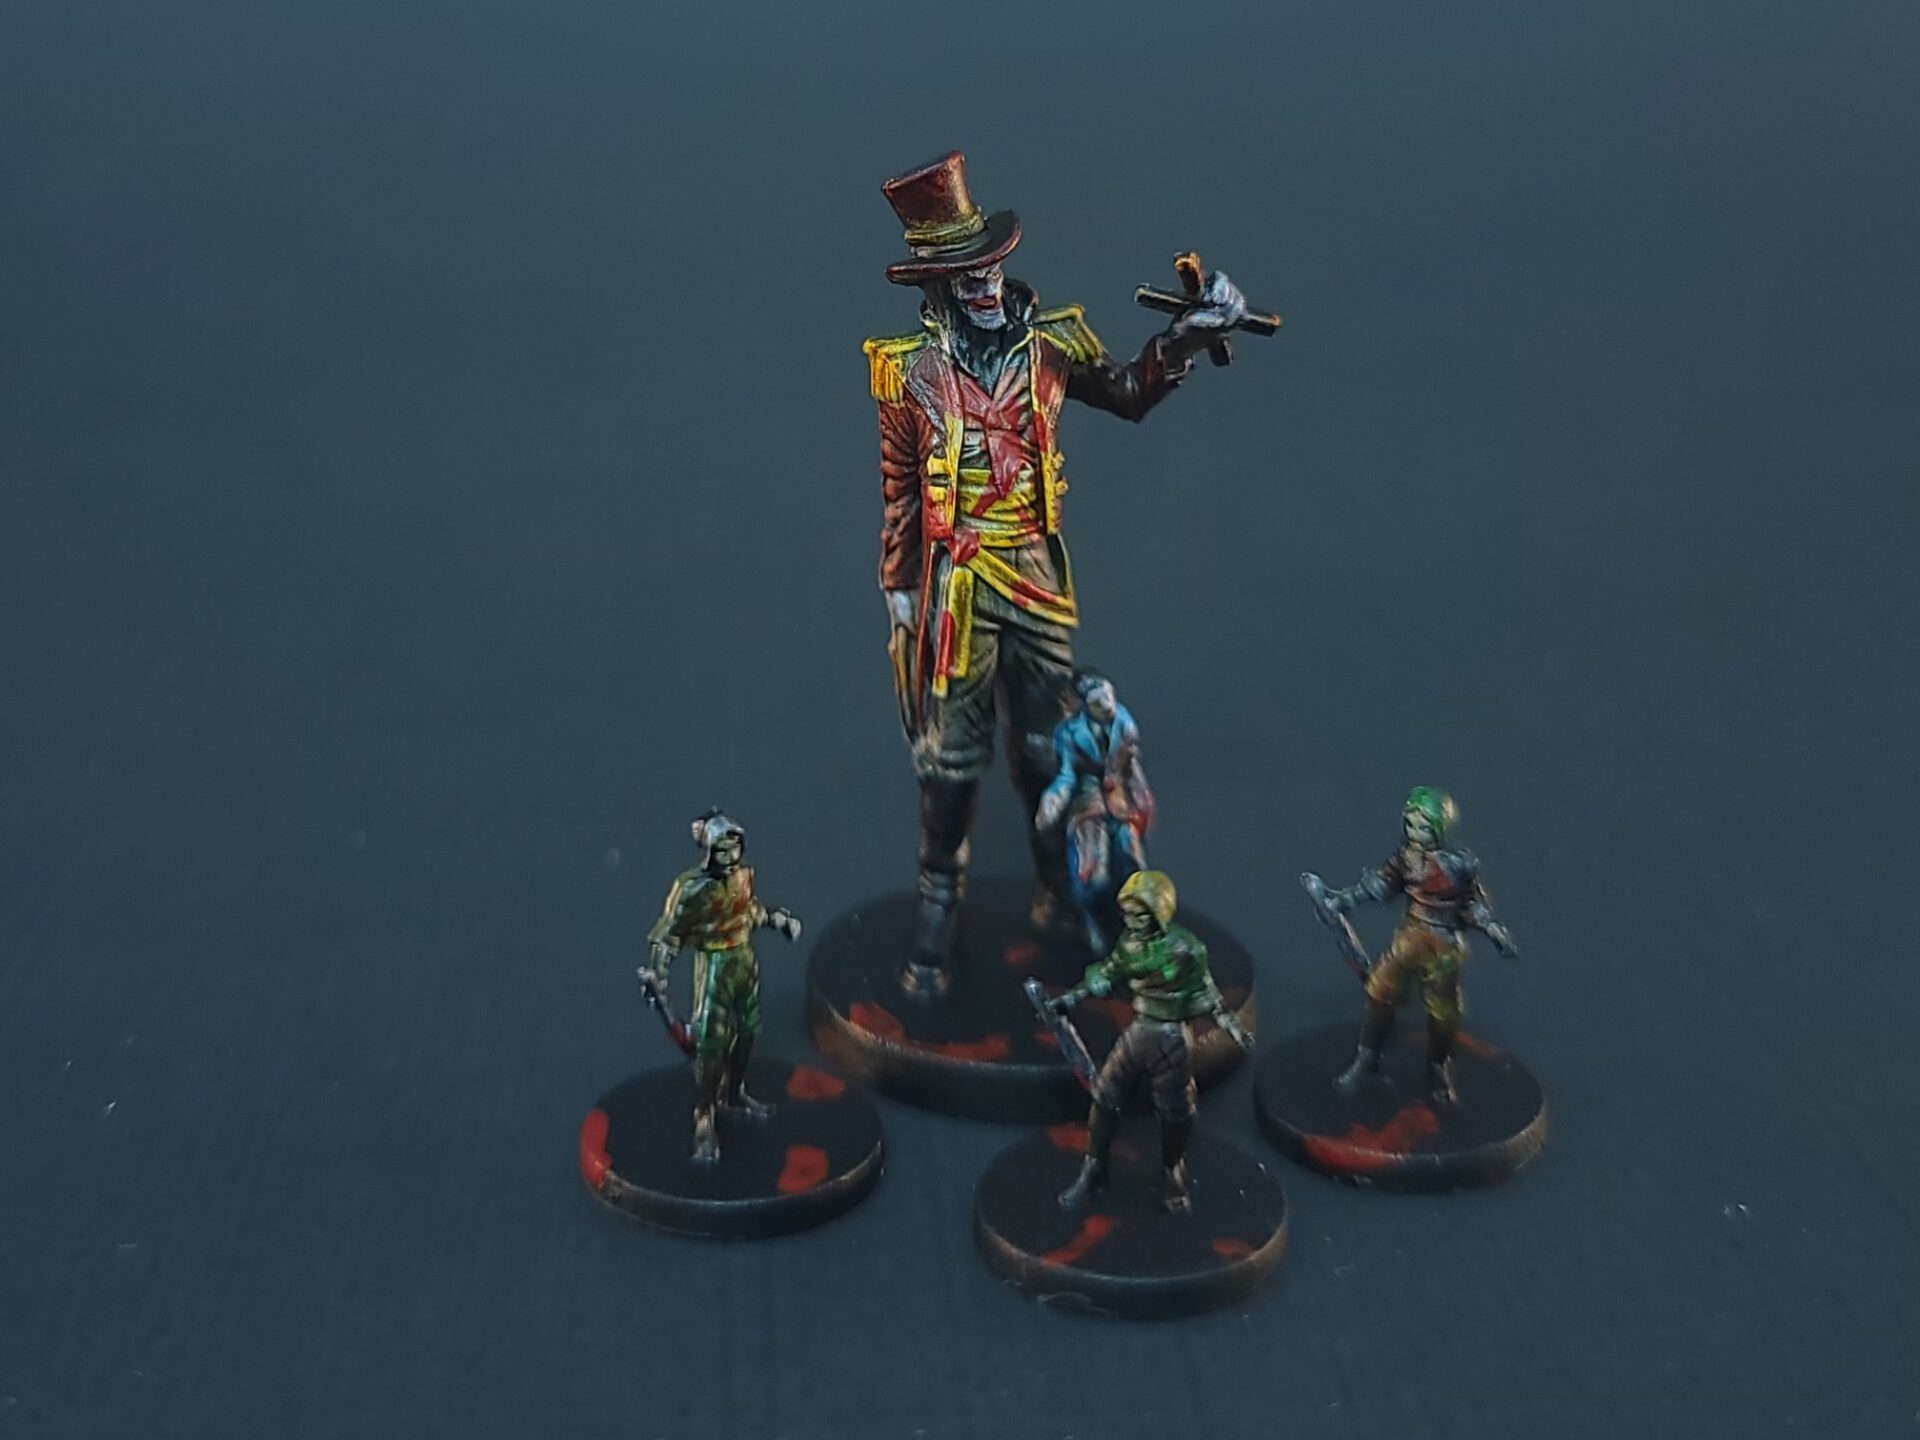
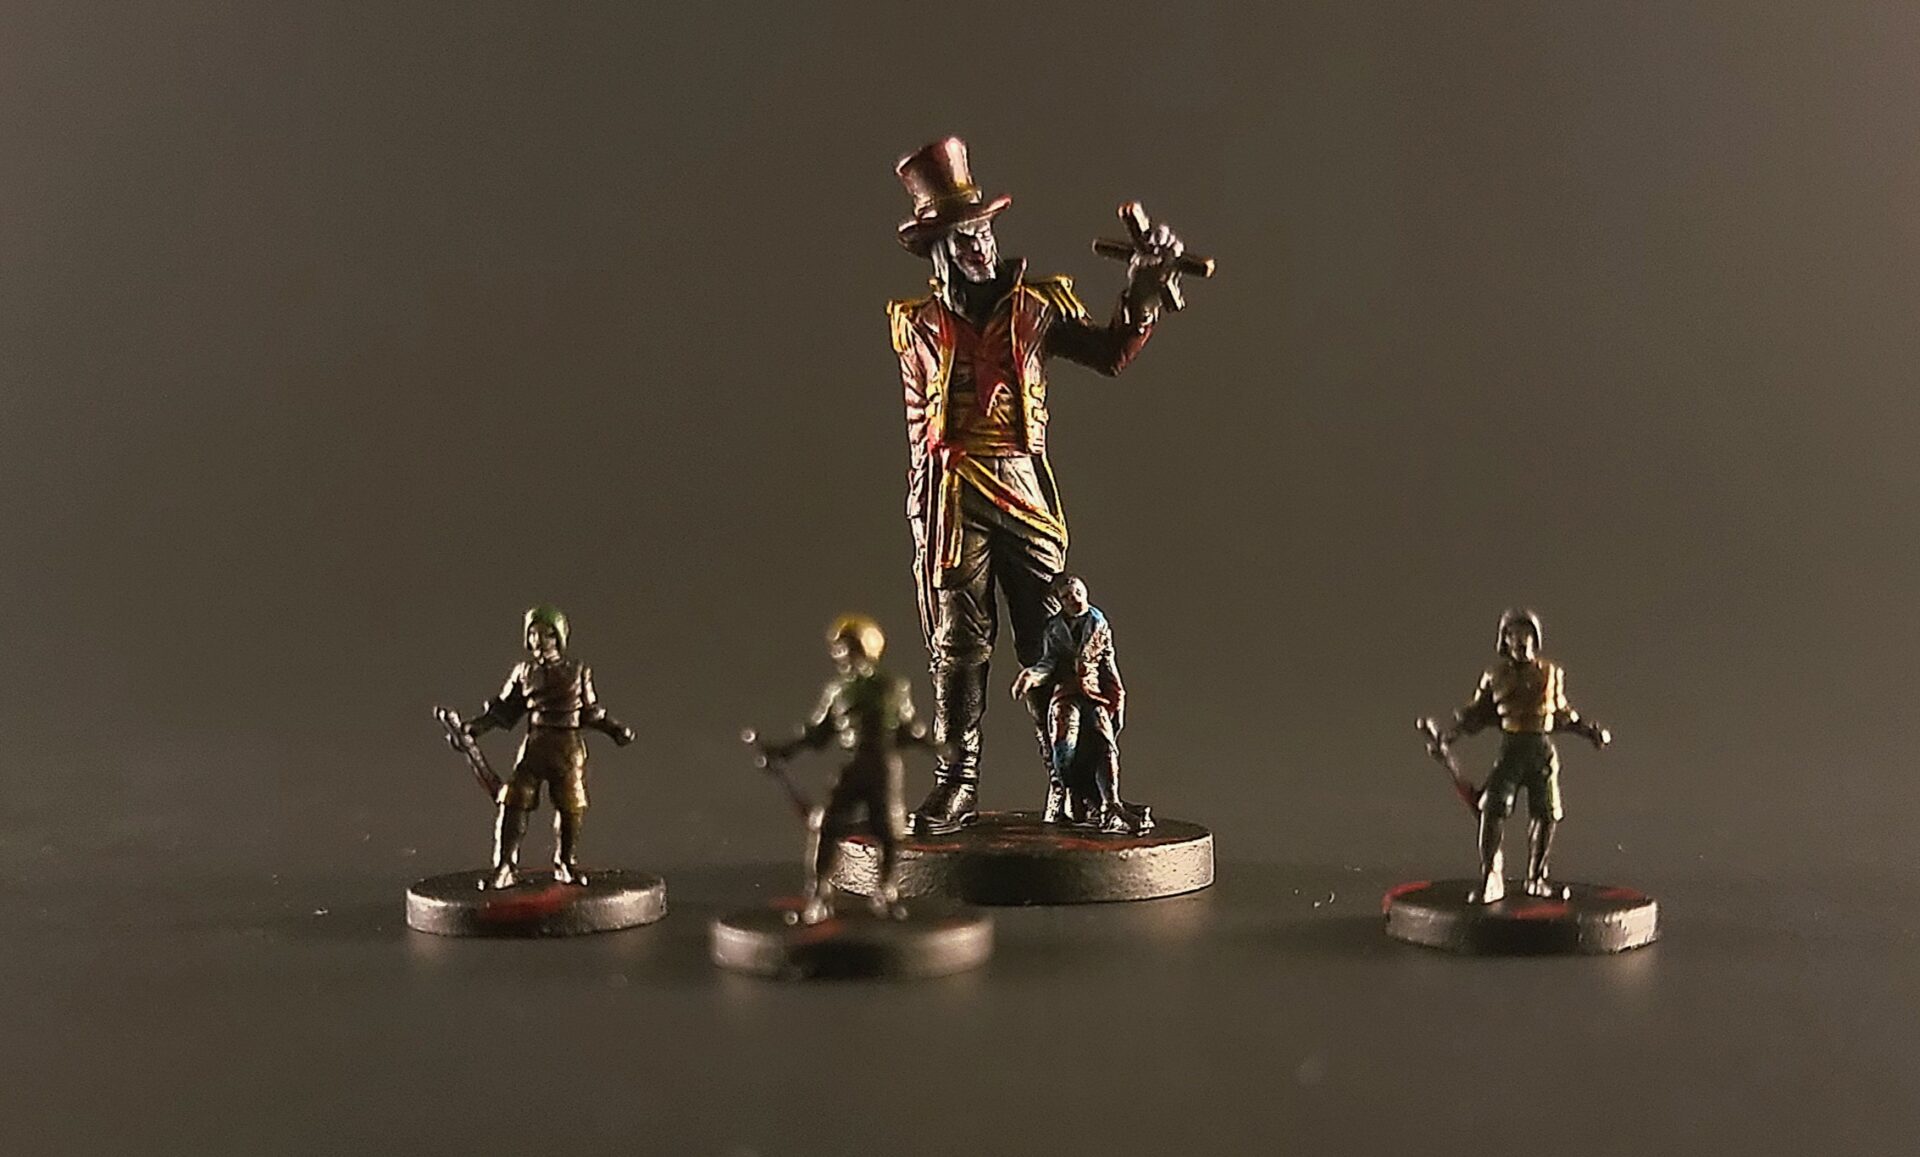
Then there was Geppetto and his Puppet Minions. I don’t know if you can tell from these pictures, but the puppets are so tiny. I basically chose three colors (Orc Skin, Ancient Honey, and Ruddy Fur) and alternated their clothing so they all matched but had some differentiation between them. This was probably the most tedious moment of this whole thing but I’m happy with the results. Then there was Geppetto, who I really wanted to do a nice job on. I made sure to dry-brush the Matt White over him a lot more compared to the other Killers as I wanted his colors to stand out more. I think I mostly achieved this with the yellows standing out from the red-purple of his jacket. I also didn’t want his skin to be a normal skin hue so I mixed Hive Dweller Purple and Gravelord Grey to give him a sort of “dead” look. I might have overdid the blood on his vest but overall, I’m really happy with him.
Melanie and Finishing Thoughts
I don’t remember where in the lineup I painted Melanie, as I dont own the “vignette” she is from and really know nothing about her game. I do know that I totally screwed up her face and hair originally, giving her the look of one of our former Presidents and that would just not stand. I was able to practice painting those areas with Matt White and reapplying Speedpaints to fix it so that was a good skill to learn.
On most all the figures, at the finishing stage, I washed them using one of the three washes I own: Strong Tone, Light Tone, or Flesh Wash. These washes were nice in that they crept into the crevices and recesses and really added depth to all the figures. As stated earlier, I used the Rust-Oleum Matte Clear to seal and protect my figures before using them in play.
This whole process was a really satisfying project that brought a lot of fun to my nights. I’d strongly encourage anyone with a passing interest in painting miniatures to try it out. Don’t be discouraged by the masterpieces plastered all over social media. Instead, be inspired to be creative and know that nobody is going to own figures that look exactly like yours. Plus, playing with painted miniatures (instead of grey ones) is just plain fun!
See below for a few more stylized photos I took.
Great work on these! You got a ton of details on them for such small models