
Name: Dragons of Etchinstone
Year of Release: 2022
Player Count: 1
Playing Time: 20 – 30 Minutes
Designer: Joe Klipfel
Publisher: Chip Theory Games
Primary Mechanisms: Deck Building, Solo Game, In Hand
Weight (According to BGG.com): 2.43
Overview
For 20 years now, I would say that I’ve been firmly entrenched in board gaming “culture” (for lack of a better word). By this, I mean that I’ve stayed in touch with new games coming out, what designers are doing, and up-and-coming publishers. Sure, I can’t play even a fraction of what comes out, but I at least have a clue about the larger ecosystem of games.
Recently, I’ve seen a ton of exposure for games that are billed as “no table needed.” Names such as Palm Island, Galdor’s Grip, and Dragons of Etchinstone have been filling my social media feeds regularly for the past year. So, imagine my surprise when I finally see Dragons of Etchinstone at a store, decide to pick it up, and discover it is from 2022! And then, I look into some of the other games mentioned and Palm Island is from 2018?! Why am I just now finding out about these games?
Honestly, before buying Dragons, I wasn’t really sure how fun these games would work in practical terms. Was it just a gimmick? I only took a chance with Dragons because I was on a work trip and had limited space in my carry on to get a game back home. But after playing it every night in the hotel, in the airport, in the airplane, and basically every waiting room I’ve been in since getting back, I definitely don’t think Dragons is a gimmick. It’s an awesome little card game that you truly don’t need a table for, though the last encounter can be a little tough to hold with just two hands.
If you’ve never played an “in-hand” game, or if you love them but haven’t played Dragos of Etchinstone yet, read on to see what it’s all about!
Rulebook & Components
The rulebook packaged with the game is fantastic and there is no reason why even a newer gamer couldn’t learn the game from it, but I want to point out the Dized tutorial for Dragons of Etchinstone. I’ve never used Dized so I was a little skeptical when I scanned the QR code in the instruction booklet. I had to download an app, as it seems you have to do with everything nowadays, but I was pleasantly surprised when it got installed and opened up for the first time.
It acts as an interactive rulebook, showing you animations and taking you through how to set up and play the game. What I like the best is that it has you follow along physically with the actual cards. It will pause and wait for you to make some decisions in your hand and then it will ask you a simple question to know which direction to go in next. It also has little “quiz” questions sprinkled throughout to ensure you understand what you are learning.
Much like the concept of a “no-table” game, Dized might be old news to some readers but it was a wonderful surprise to me and I’m hoping that other games I purchase will follow this same path.

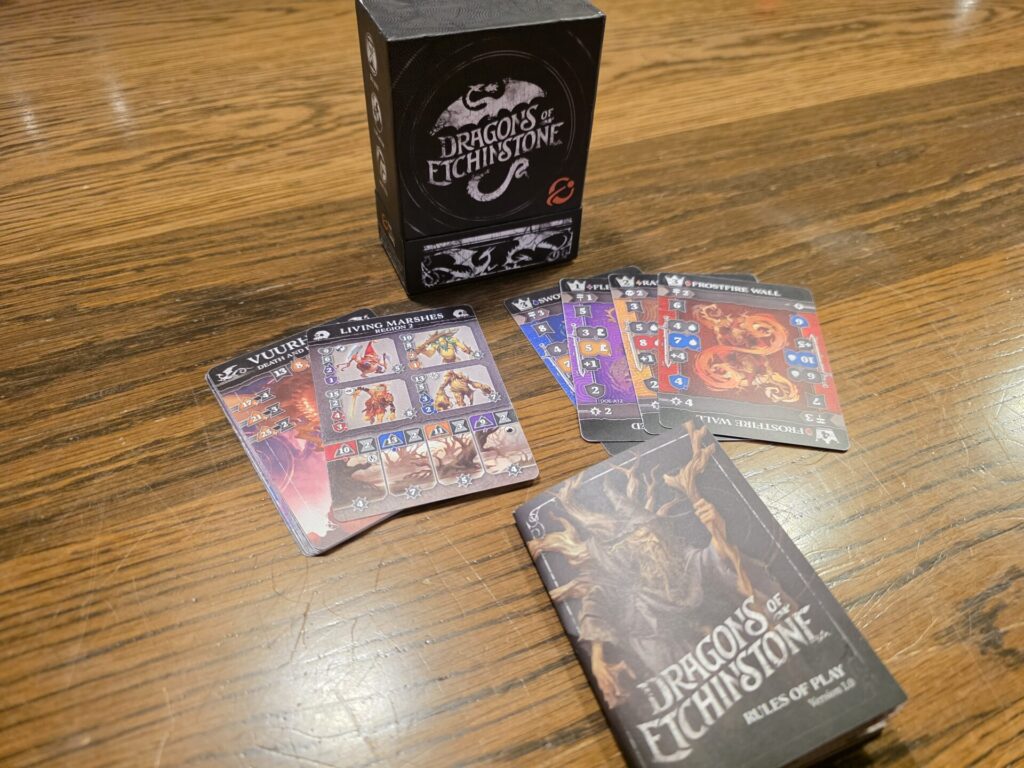
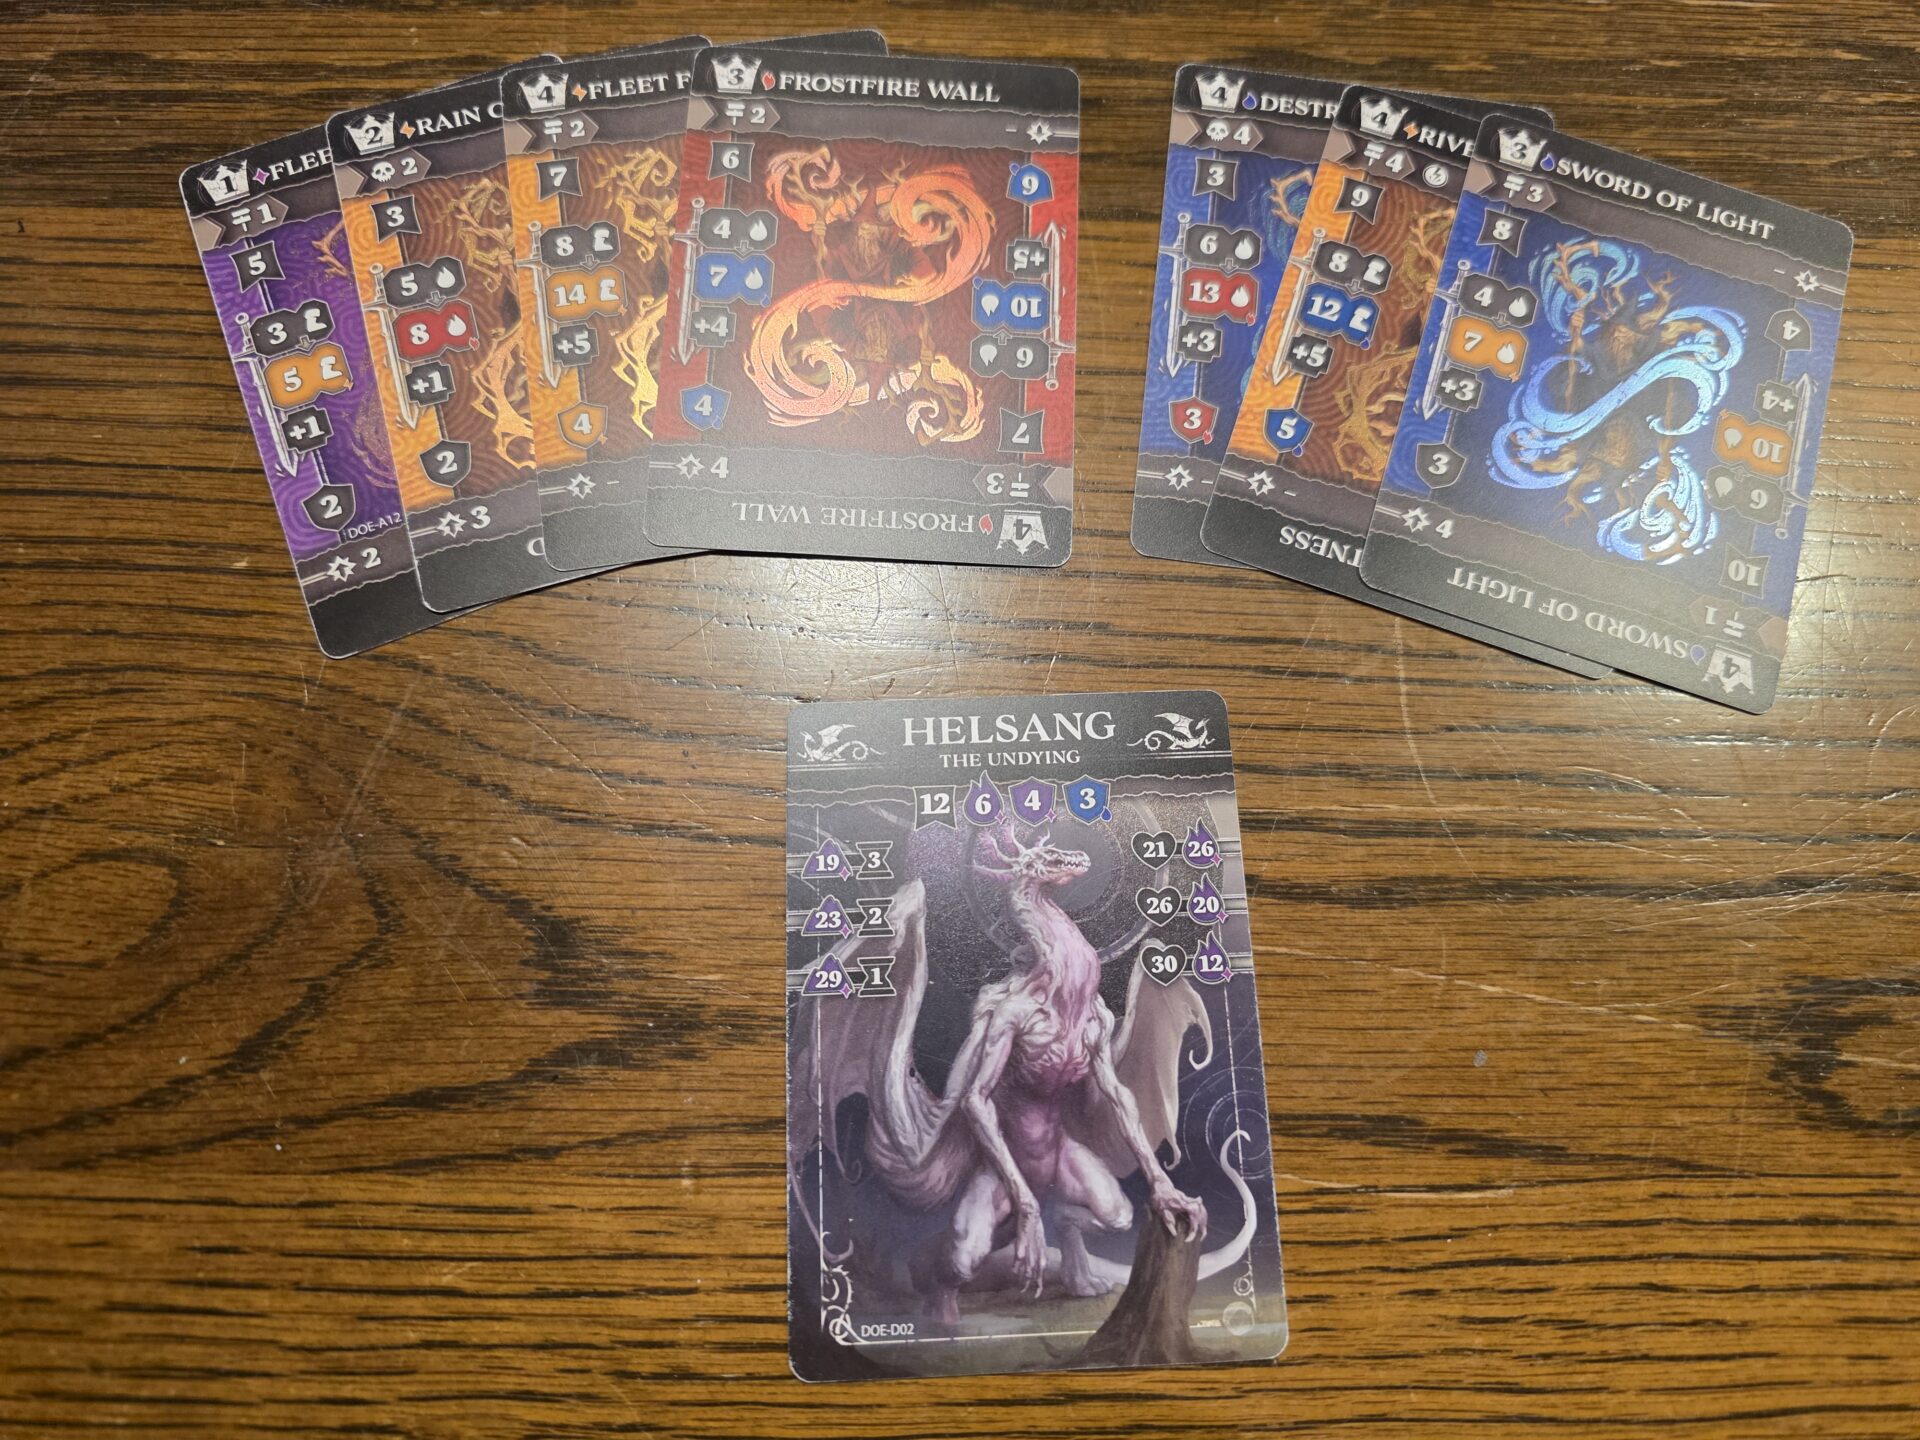
As far as components go, you get 22 cards and the aforementioned rulebook… that’s it. The card art is thematically great and sells the idea of a fantastic journey perfectly. The 16 Mage Cards have foiled areas, giving off a sheen that differentiates them from the rest of the cards. Every card conveys a ton of information with a simple icon system that won’t overburden players once they learn the system. I think I paid $15 for my copy and while I was initially a little worried about paying almost $1 per card, the number of times I’ve already played this game has washed away any initial hesitation I might have had.
Setup & Gameplay
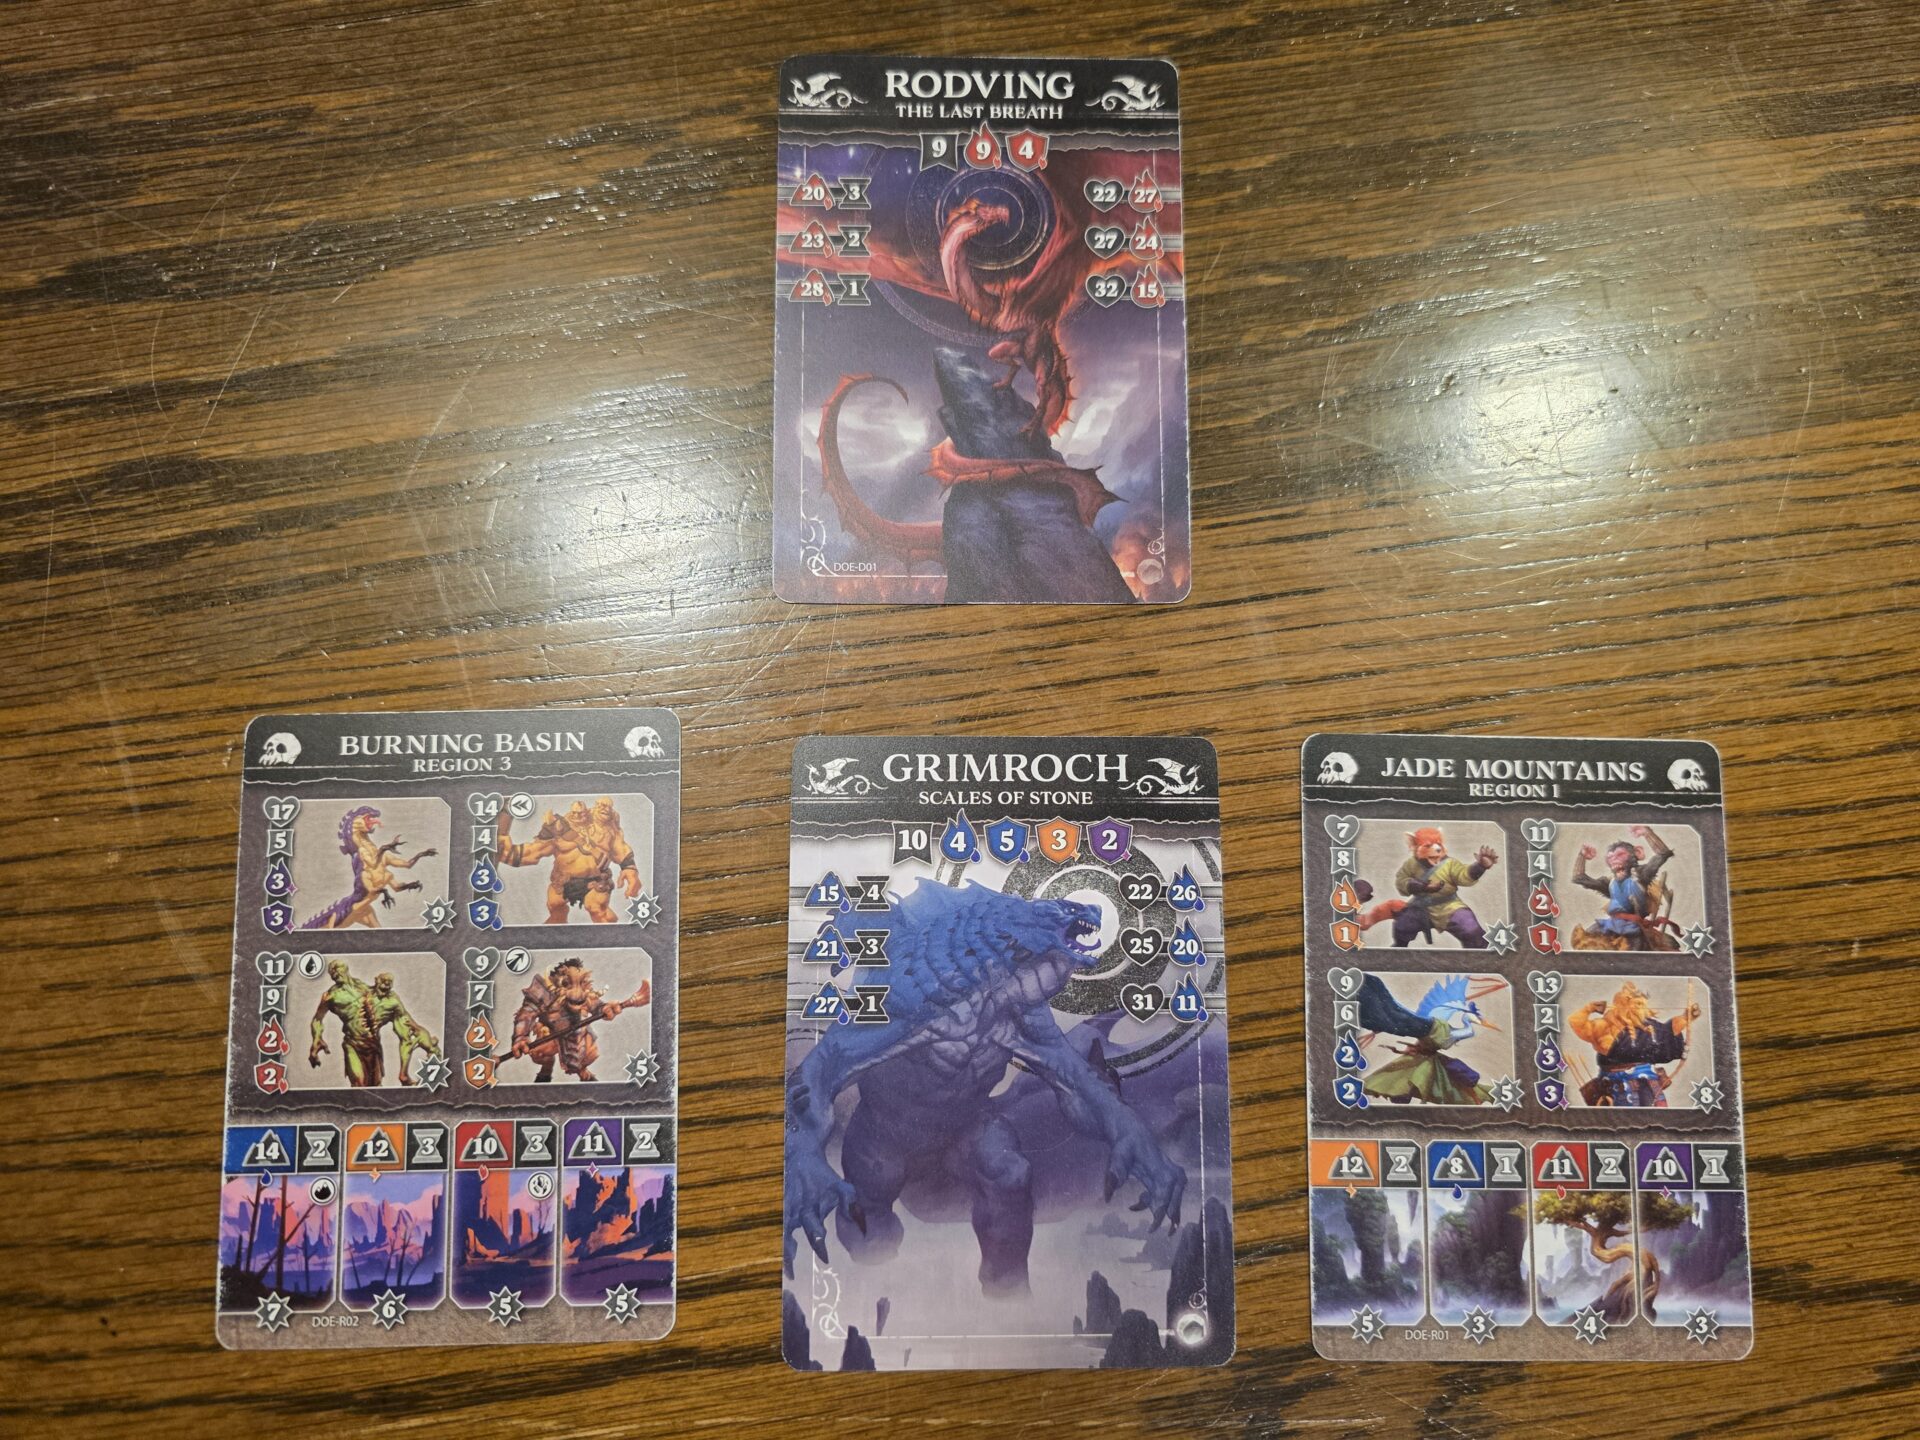
To set up the game, the player must first decide which dragon they are going to face off against. The game comes with two Dragon Cards; a different dragon printed on each side for a total of four dragon baddies. Essentially, each dragon is going to play similarly but they will have slightly different Elements they are strong or weak against. Once you’ve selected a Dragon Card, you will take the two Region Cards and place the one labeled Region 3/Region 4 behind the Dragon Card while the Region 1/Region 2 card goes on top.
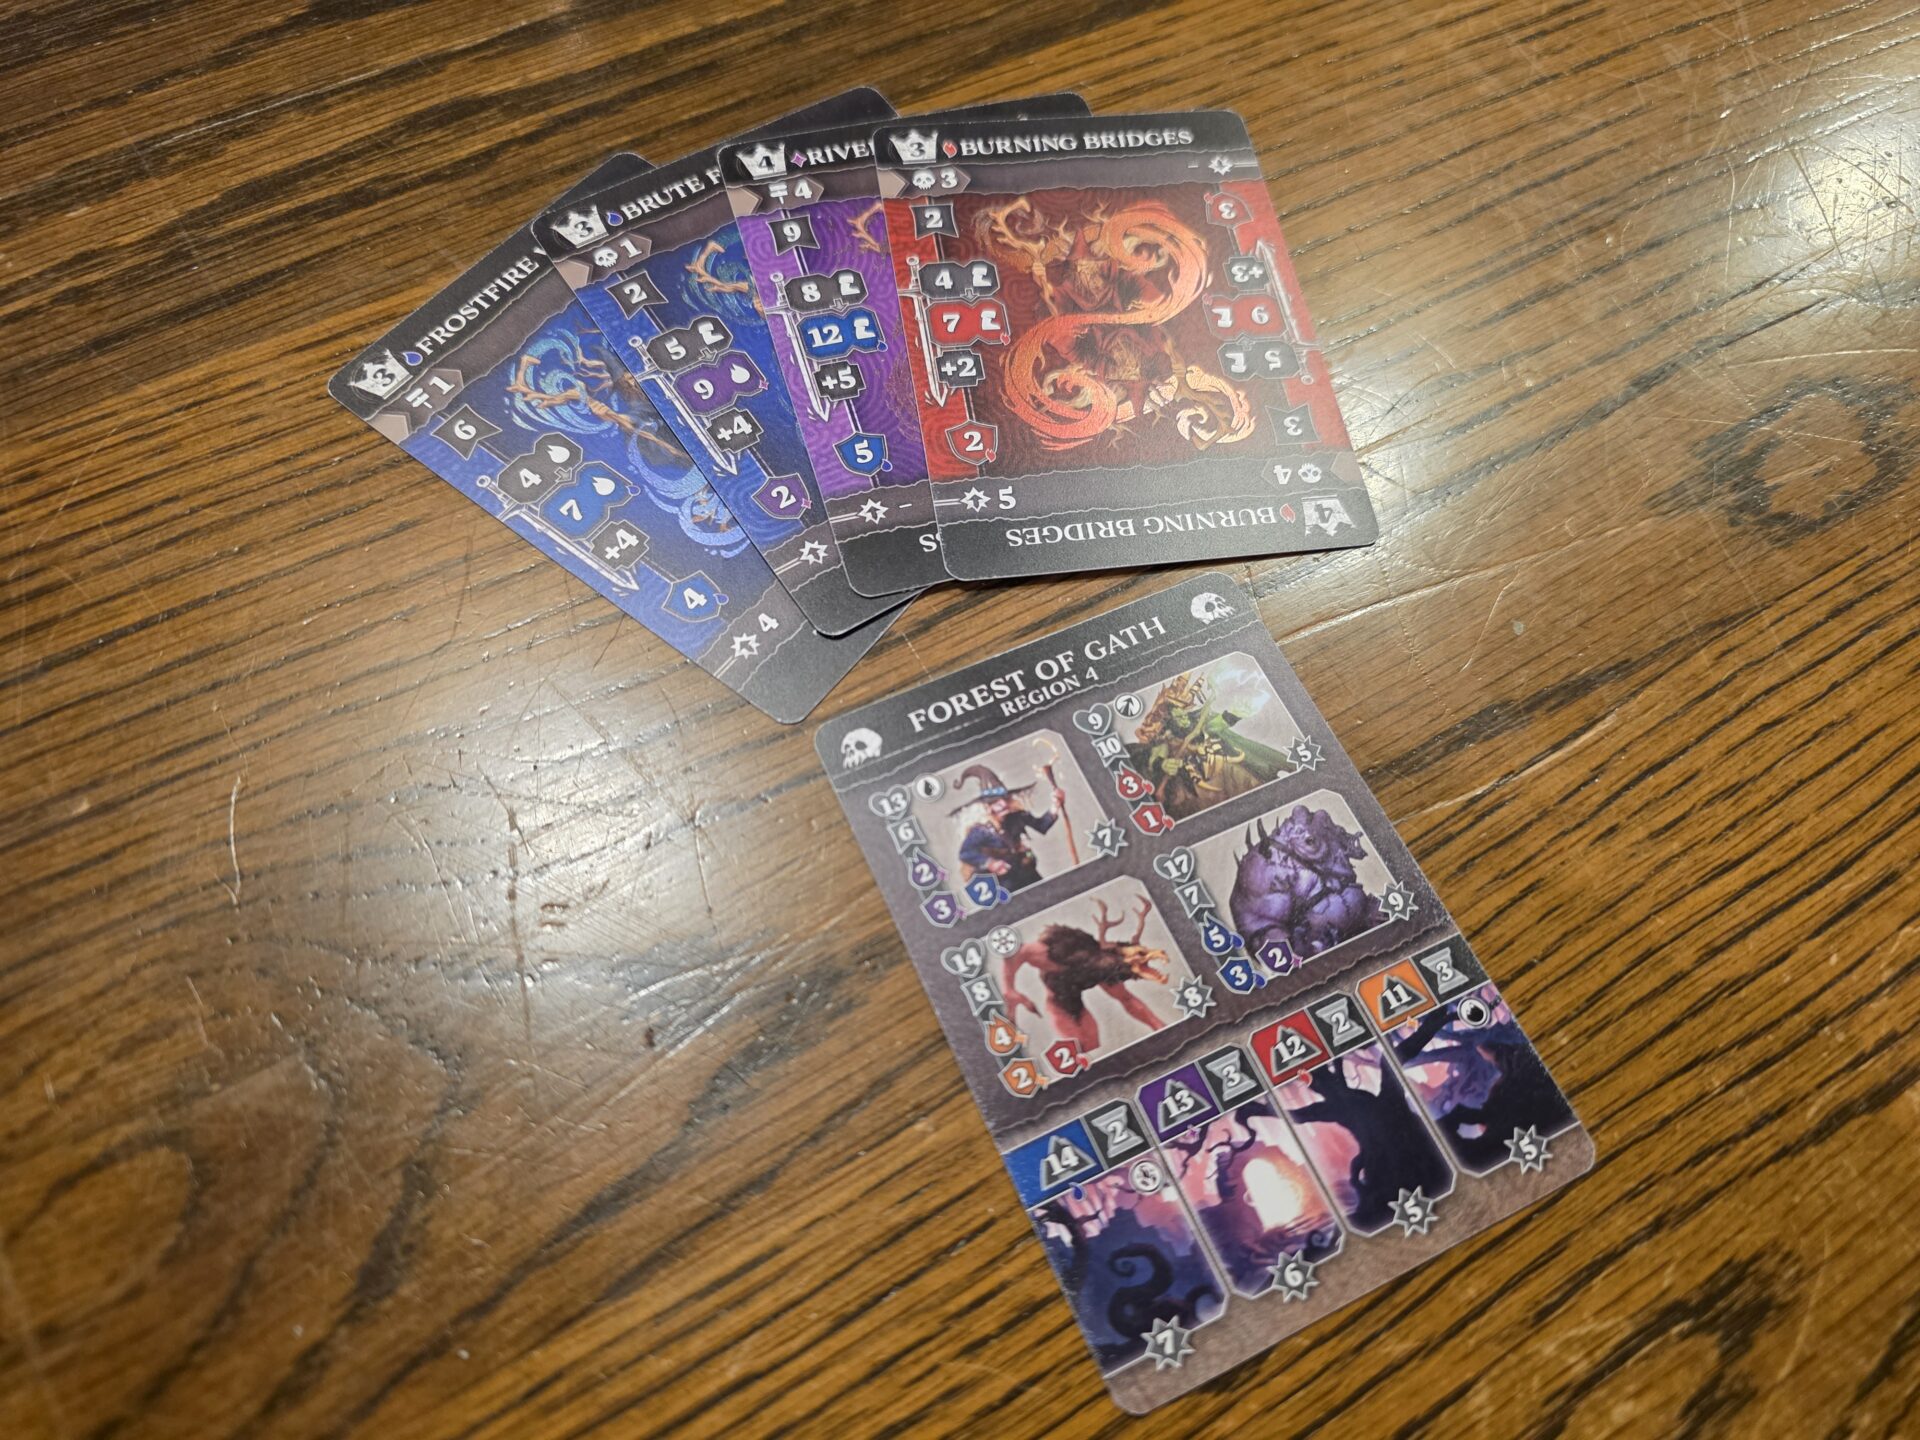
Next, you’ll take the stack of 16 Mage Cards, ensuring they all start on level two. Players will know this by looking at the top left corner of each card. Because the Mage Cards can be orientated in one of four ways, this is one of the first important aspects to get used to. Once they are all on level two, the player will draw a certain amount, depending on the difficulty they wish to make the game. The standard game has you draw five cards, and then you are allowed to upgrade two of them, meaning you orientate them so that the level three icon is in the top left corner. Once done, shuffle all 16 Mage Cards and then slide them between the Region 1/Region 2 Card and the Dragon Card. This whole stack should be in your left-hand and now you’re ready to start!
You’re starting hand is made up of the top four Mage Cards that are found under the Region 1/Region 2 Card. You’ll slide these out and keep them in your right hand. Now, it’s time to see which encounter on the Region Card you’ll have to go against. To find this, you’ll slide the Region Card down slightly so that you can see the header of the Mage Card behind it, called the Key Card. Right below the level number, one of two icons will be printed: either a Skull (signifying an Enemy encounter) or a Crossroads Sign (signifying a Journey encounter). There will also be a number between one and four printed here. There might also be other icons to change the base encounter but just check the rulebook on how to implement these changes when needed. If you’ve revealed a Skull, you’ll be concentrating on the top of the current Region Card and alternatively, if it’s a Crossroads Sign, you’ll be looking at the bottom of the Region Card. Let’s use an Enemy Encounter as our basis for how the game works and then we’ll discuss the differences when resolving a Journey Encounter.
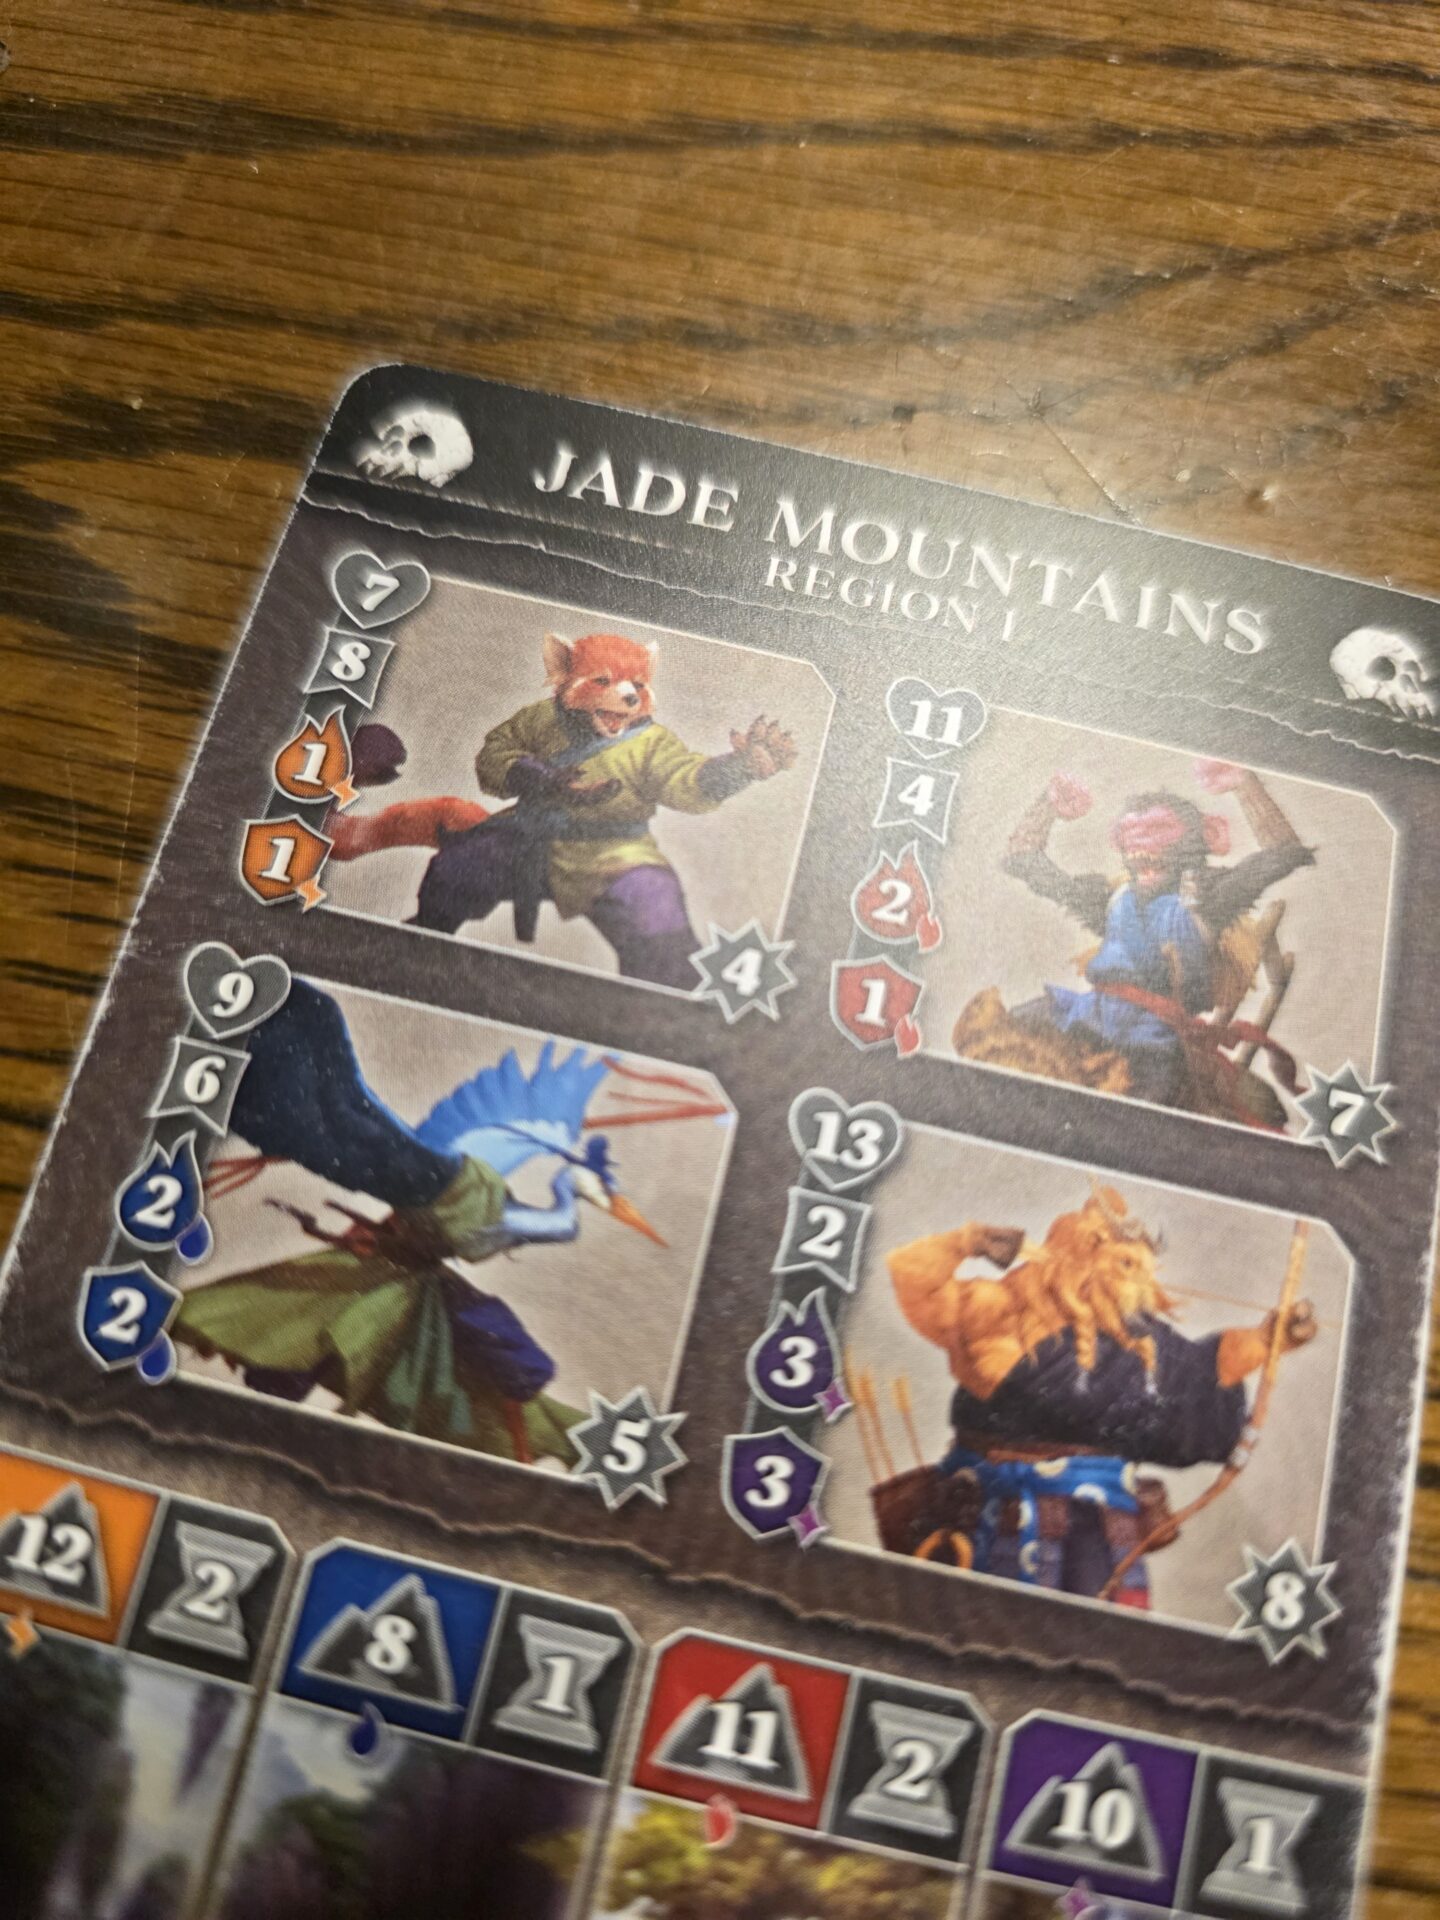
On each Region Card, there are squares laid out in a 2×2 grid. Players should think of these as reading Encounter One and Encounter Two on the top row (from left to right) and Encounter Three and Encounter Four on the second row. Whichever number was revealed next to the Skull will determine which enemy square you’ll be facing. For an example, let’s pretend that you’ve revealed a Skull Encounter One in Region One, which correlates to a rather mad looking Red Panda dude in some jujitsu looking garb. On Mr. Red Panda you’ll notice a series of numbers running down the left edge of the panel as well as a number in the lower right corner. Moving from top to bottom, these icons include:
Enemy HP – represented by a value inside a heart icon. Red Panda’s HP is equal to 7.
Initiative – represented by a value in a banner-shaped icon. The higher the number, the more likely the enemy will do Early Damage. Red Panda’s Initiative is equal to 8.
Attack – represented by a value within a flame icon and color-coded to match one of the four elements. Red Panda’s Attack is a Lightning Element (orange color) and a value of 1.
Armor – represented by a value within a shield and color-coded to match one of the four elements. Red Panda’s Armor is also Lightning Element and a value of 1.
XP Reward – the experience you’ll gain by defeating the encounter successfully. Red Panda’s XP is a value of 4.
Now that you know which Encounter you’re facing, you need to order your hand so that three of the cards are assigned a single Role each, with the fourth card being kept in Reserve for the next hand. The cards should be ordered in the following order, from left to right in your right hand:
Reserve – the card that will not play any role in the current encounter and will be left for the next hand.
Element – this card is going to help you to power the card to the right of it. When a card is used in the Element Role, players need only pay attention to the color of the overall card. The four Elements include the aforementioned Lightning, Water (blue), Fire (red), and Shadow (purple).
Spell – this will be the card that is doing the heavy lifting, handling multiple pieces of information.
- The Initiative (which is listed in the banner-shaped icon) will be compared to the enemy’s Initiative.
- Next on the card will be two Actions. These can either be an Attack (flame icon) or a Move (boots icon). Typically, Attacks will be used against Enemies and Moves will be used on the Journey Encounters. The top Action is always in a grey box, meaning it doesn’t have to be powered by an Element. However, the bottom Action will match one of the four Elements and usually be of a higher value. If this color matches the color of the card that you chose for the Element Role, you can use this higher value.
Boost – the right most card is your Boost Card and will be used for its value prefaced by a + symbol and in the cross-shaped icon. Players will take this value and either add it to their Action value or to their Initiative value. Nothing else on this card matters in this role.
Once you’ve gotten your cards assigned and you’ve done some light math, it’s time to resolve the encounter. First, compare the Initiative values. If the player’s Initiative is greater than or equal to the enemy’s, they move on to the next step. If not, they must suffer Early Damage in the Penalty Phase. Don’t worry, we’ll talk about Early Damage shortly.
Next, the player will determine which Action they are resolving on their Spell card. Remember, if the color on the Enhanced Action space matches the color of the card in your Element Role, you may use that value. Once this is decided, add the necessary Boost value (as long as you chose not to use it to boost your Initiative). Compare this final value to the Enemy’s HP found on the Region Card and determine the outcome.
- If your Action value is equal to or greater than the Enemy’s HP, you earn a Complete Victory; don’t suffer any damage (this doesn’t count Early Damage) and get all the XP awarded.
- If your Action value is equal to or greater than half of the Enemy’s HP (rounded up), you earn a Narrow Victory; suffer the Enemy’s Attack but you are still rewarded the XP.
- If your Action is lower than half of the Enemy’s HP (rounded up), suffer a Loss; take the Enemy’s Attack and do not earn any of that prized XP.
After determining your results, it’s time for the Penalty Phase. Add any Early Damage suffered to any Enemy Attack gained to arrive at a single value. This is the amount of damage you must soak with the cards in your hand. Each card has a value within a shield icon, called its Armor. Choose a card, or combination of cards, that’s Armor value is equal to or greater than the damage suffered and downgrade these cards. This means you will orientate the card down one level, such as moving from a level three to a level two. If you ever downgrade a level one card, you must discard it out of the game. Some Armor icons will match an Element Color and will be extra strong if it is the same Element as the Enemy’s Attack. If these colors match, the player may double the amount of damage this single card can soak. For example, if the Red Panda did four damage to us with the orange Lightning Element, we could choose a card with an Armor of two, as long as it was also orange. This would allow us to downgrade this single card and double its defense, meaning it could soak all four damage we were taking. If the armor was not orange though, it would soak two damage and we would still have to downgrade other cards to soak up the remaining two damage. Each card can only soak damage once per Encounter so keep that in mind.
Finally, after all defense has occurred, players may spend the XP points they won, as long as they got either a Narrow or Complete Victory. The last number found on the Mage Cards is a value in the bottom left corner, next to an “up” arrow, and designates the cost to upgrade the card. Players will spend the available XP to orientate cards, upgrading them from one level to the next. A few considerations to keep in mind is that you can’t upgrade cards that you downgraded during the Penalty Phase. You are allowed to upgrade the same card multiple times at once, as long as you can afford it. Lastly, you don’t keep any unspent XP so spend as much as you can before going on to the next encounter.
Journey Encounters
If a player reveals a signpost icon, they’ll need to use the bottom of the Region Card in their Encounter. Much like the Enemy section, the Journey section is comprised of four boxes but unlike the Enemy area, there are only three numbers to keep up with.
MP – the top left number (found within the Mountain icon) represents the movement points a player is trying to gain to succeed in the Journey. Think of this as being similar to the Enemy HP value.
Time Penalty – the top right number (located inside the Hourglass icon) represents the amount of cards one will have to discard if unsuccessful in the Journey.
XP Reward – handled the same way as in an Enemy Encounter.
You’ll arrange the cards in your hand using the same roles explained earlier, though this time you should focus on getting Movement Actions, instead of Attack Actions. The other difference is if your selected Action color matches the Elemental color of the Journey, you may also add the Boost value of your Reserve card. Determine the results using the same Victory Scale outlined in the Enemy Encounter and then move to the Penalty Phase. This phase is only different in that instead of taking damage and downgrading cards, you will simply discard cards, moving the next card(s) from behind the Region Card to the back of the stack, equal to the Time Penalty value. Then move on to the Upgrade Phase as usual.
If you get to a point where you can no longer draw four cards, or a Key Card, without revealing the Dragon Card, the round is over. Reshuffle all the cards, making sure to keep them oriented the same direction, flip the current Region Card (or move to the second one if you’ve already flipped the first) and start again. Do this through all four regions and then its time for the Final Battle.
The Final Battle
After working through all four Regions, and hopefully upgrading many a Mage Card, it is time for the Final Battle, which will play out in two rounds. After shuffling, players will want to place a Region Card (doesn’t matter which one) below the Mage cards, and the Dragon Card on top of the Mage cards, and hold this stack in their left hand.
The first round is called the Final Journey and will use the left side of the chosen Dragon Card. They will want to draw the top seven Mage Cards into their right hand. The player is going to attempt to score equal to or greater than the MP values listed on the left of the Dragon Card by creating two sets of the three cards, each assigned one role per set with the seventh card being the Reserve Card. Like in a normal Journey Encounter, If your Movement Action color matches the color of the Dragon’s Mountain icon, you will add the Boost of your Reserve card. Note that you will only add it once, even if the Spell card in each set matches
You will match your Movement Points against the three levels on the card to determine how you fared, evaluating against the lowest level you met or exceeded. This level will tell you a value for a Time Penalty, discarding those cards off the stack like normal before moving to the last round. Make sure these go behind the Region card on the bottom of the stack.
After exacting any Time Penalties, you are to discard your whole hand, even your Reserve card. You will now draw every card you have left between the Dragon card and the Region card. You might see that the better you do against the Final Journey, the more cards you take into the Final Enemy.
This round will play out much like an Enemy Encounter in that the Dragon has its own Initiative, Early Damage, Armor, and a three-tiered set of HP. Using the cards you have left, you will create two distinct sets, but focusing on the Attack Action this time. Remember that if your Initiative is not at least equal to the Dragon’s, you will suffer the Early Damage shown on the card. If so, just keep this value in your head for a minute.
Add up your attack value, ensuring you subtract for any Armor the Dragon might have, and then apply this number to the three HP values on the right side of the Dragon. If your attack value does not even reach the minimum level, you automatically lose. If it does meet one of the tiers, that is the amount of damage you do to the Dragon. Next to this HP value though is a number representing the damage the Dragon will deal to you. The less damage you deal out, the more the Dragon deals back to you.
Once you know this value, add the Early Damage you suffered, if any, to it and you will have the final value your cards need to soak. Begin downgrading cards, following the same rules as in a Region’s Enemy Encounter. If you are able to soak all the damage, you return victorious but if you’re unable to soak it all, you perish against the scaly beast!
Conclusion
Dragons of Etchinstone proves that a solo-only, in-hand game can have a massive amount of depth and replay ability. I am honestly shocked at how much I have found myself playing it, especially with its low price point. Yes, it has a lot of math that one must do in their head, but if that isn’t a deterrent for you, I would highly recommend you check this one out.
Rating
Ratings are based on 5 main criteria: rulebook, setup, components, art & graphic design, and gameplay. The first 4 criteria are rated 1 to 5 and the gameplay is rated 1 to 10. These scores culminate in an “overall satisfaction” score that is rated from 1 to 10. If the reviewed game has both a solo and multiplayer mode, I have assigned scores separately to give context to which mode we enjoy more.
Rulebook – 4.5
Setup – 4
Components – 4
Art/Graphic Design – 4.5
Gameplay (Solo) – 8.5
Overall Satisfaction (Solo)
Pros:
- No table needed and fits into the palm of your hand
- High replay value at a low price point
- Great artwork
Cons:
- Newer gamers might have a hard time with the amount of icons presented
Links